Top Picks


Frequently Asked Questions
Will this lower my water pressure? A properly sized system reduces pressure by 2-5 PSI — completely unnoticeable. An undersized system can choke flow significantly, so size up if in doubt.
Can I install this ? Absolutely. The principles are identical — just use the appropriate fittings and connectors for your pipe type.
What if I rent? Look into a portable inline filter that connects without permanent plumbing changes. You'll lose some performance but gain mobility.
Related Reviews
- How to Replace Whole House Water Filter Cartridges: Complete Guide
- How to Size a Whole House Water Filter for Your Home
- How Does a Whole House Water Filter Work? Complete Guide
- How to Test Your Home's Water Quality Before Buying a Filter
- Whole House Water System Budget Guide: What to Expect at Every Price Point
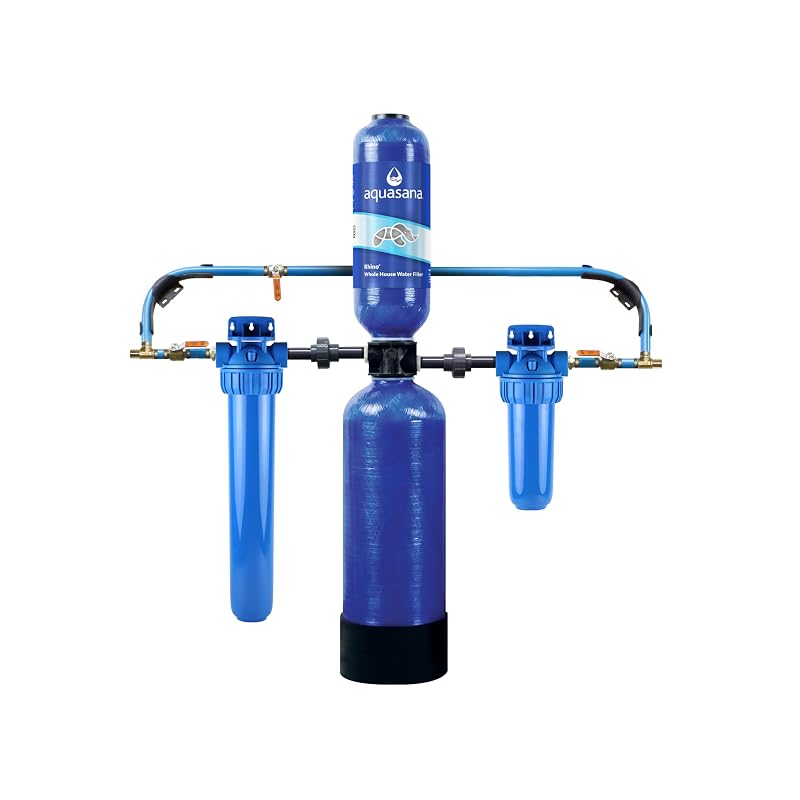
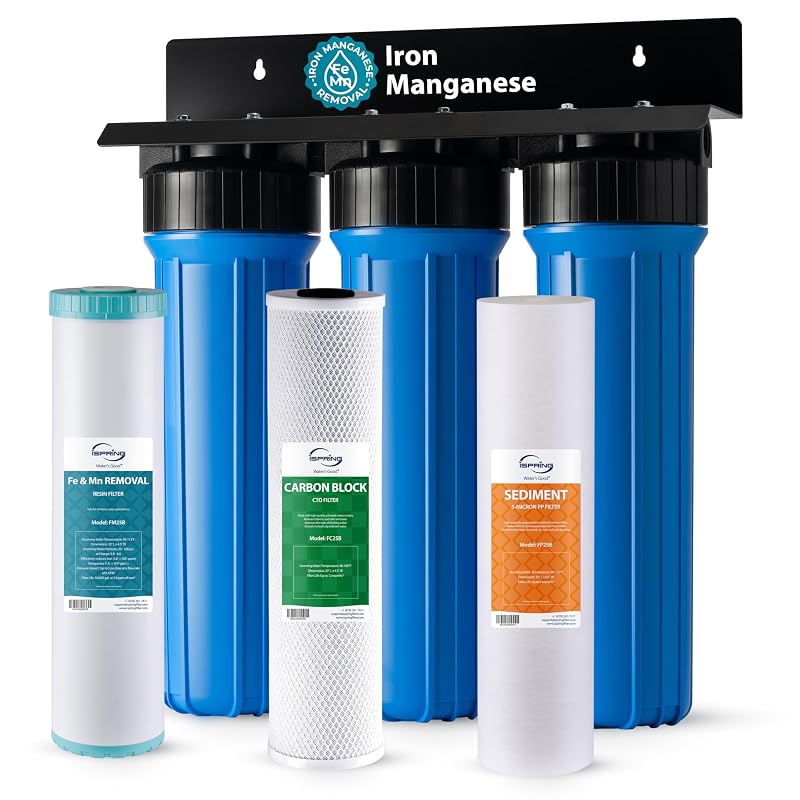
Featured recommendations from our review database — direct Amazon links below.
Key Takeaways
- Choosing the right how to install whole house water filter means matching capacity and output ports to your actual devices
- Always check actual watt-hours (Wh), not just watts — runtime depends on Wh, not peak output
- Also covers: whole house water filter installation
- Compare price-per-Wh across models to find the best value for your budget