To install Pelican PSE1800 detached garage PEX plumbing, you need a freeze-protected outbuilding, a 3/4-inch or 1-inch PEX inlet and outlet stub-out within 24 inches of the tank, a three-valve bypass loop, and a 5-micron sediment pre-filter to shield the catalytic carbon and KDF media inside the cartridge. The PSE1800 is Pelican’s salt-free softener-plus-filter combo rated for 1-3 bathroom homes, and detached garages are a common install spot because the 52-inch fiberglass tank, pre-filter housing, and drain plumbing stay out of conditioned living space — but the PEX trunk runs back to the house demand specific sizing, burial depth, and a properly placed shutoff at the house wall penetration.
Why a detached garage suits the PSE1800
The PSE1800 ships as a 9-inch by 48-inch fiberglass tank with the SimpleFlo blue-cap distributor on top and a Big Blue pre-filter housing that mounts upstream. The whole assembly is roughly 60 inches tall once plumbed, which is awkward in a utility closet but trivial in a detached garage with eight-foot ceilings. Garages also make the annual pre-filter cartridge swap less disruptive, give you a floor drain or sump for the initial commissioning flush, and let you stage the bypass valves at chest height for easier service.

The catch is that the PSE1800 has no brine tank — it is a template-assisted-crystallization (TAC) system — so it does not need a 120V outlet or a drain line for regeneration. That radically simplifies the garage layout: you only need a cold-water inlet, a treated-water outlet, and a pressure-rated air gap for the housing relief. If you also need bacteria control on a well, the manual recommends a separate UV stage downstream, not inside the same cabinet.
Tools, fittings, and materials checklist
- 3/4-inch or 1-inch PEX-A or PEX-B tubing
- Expansion or crimp fittings rated for the tubing brand (Uponor ProPEX for PEX-A, stainless cinch clamps for PEX-B)
- Three full-port ball valves for the bypass loop (sweat-to-PEX or push-to-connect)
- Two 3/4-inch or 1-inch PEX-to-MIP brass adapters for the PSE1800 stainless head
- Pressure gauge tee for the post-filter port
- Closed-cell pipe insulation (3/4-inch wall for unheated runs, 1-inch wall for runs exposed to wind)
- Self-regulating heat trace cable if any portion of the run sees ambient below 35°F
- Teflon tape (yellow gas-rated is fine for water threads) and food-grade silicone for the housing O-ring
Step-by-step PEX install sequence
1. Plan the bypass loop and shutoff locations
Before you cut any PEX, mark three shutoffs: one at the house cold-water main, one immediately before the garage entry, and one at the PSE1800 inlet itself. The PSE1800’s factory bypass valve is a screw-on quarter-turn piece that is fine for short-term service, but for a detached garage you want a true three-valve bypass loop in PEX so you can isolate the tank without losing water to the house. Place the bypass at eye level on the back wall of the garage so you can read the inlet pressure gauge during a cartridge change.
2. Mount the tank and pre-filter housing
Set the fiberglass tank on a 2-inch composite or pressure-treated pad — never directly on bare concrete, which can wick cold and condense on the tank wall. Anchor the pre-filter housing bracket to a stud or unistrut so the cartridge unscrews downward into a 5-gallon bucket. Leave 14 inches of clearance below the housing for cartridge removal. The pre-filter sits upstream of the tank inlet and protects the catalytic carbon from sediment fouling, which is the single most common cause of premature PSE1800 media replacement.
3. Run the PEX trunk lines
From the house, your buried supply line should be PEX-A in a 1-inch minimum diameter for any run over 40 feet — 3/4-inch PEX has too much friction loss across the distance and will throttle a 7 GPM shower. Bury the line below the local frost depth (typically 36-48 inches in the northern US for 2026 codes) and sleeve it inside 1.5-inch SDR-35 conduit so a freeze burst can be pulled and replaced without trenching again. Transition to above-grade inside the garage with a sweep elbow, not a sharp 90, to preserve flow.

Inside the garage, the PEX inlet enters the bypass loop, then the pre-filter housing, then the tank head’s blue inlet port (marked “IN” on the SimpleFlo cap). The outlet returns through the bypass loop’s third valve and heads back to the house. Total fitting count should be under 10 — every brass elbow drops about 0.5 PSI at peak flow.
4. Pressure test and commissioning flush
Close the bypass, open the inlet slowly, and watch the housing for the first 60 seconds. You will hear air purge through the SimpleFlo distributor — this is normal. Let the system run to a hose bib outside the garage for 20 minutes to flush carbon fines; the discharge will look gray for the first 5 minutes and clear after that. Do not run the flush back into the house; the carbon fines are harmless but stain fixtures temporarily.
PEX-specific considerations when you install Pelican PSE1800 detached garage PEX systems
The PSE1800 head is stainless with 1-inch FIP ports. Avoid plastic-to-plastic threaded fittings here — use brass PEX-to-MIP adapters with thread sealant, then crimp or expand onto the PEX. PEX-A is the better choice for the garage trunk because it can be expanded to slip over the fitting and shrink back, eliminating the crimp ring as a failure point. If you must use PEX-B, use stainless cinch clamps (Oetiker style) rather than copper crimp rings, since the garage ambient swings will fatigue copper rings over a decade.
Length matters: every 10 feet of 1-inch PEX adds about 0.4 PSI of friction loss at 10 GPM. If your house static pressure is 55 PSI and you have 80 feet of buried line plus 30 feet inside, you’re looking at 4-5 PSI of loss before the tank even starts adding its own 2-3 PSI drop. For more on choosing line diameter for outbuilding water treatment, see our PEX sizing guide for detached garage water systems.

Pre-filter and protection picks for the PSE1800
The PSE1800 manual specifies a 5-micron sediment cartridge upstream, but the included housing ships with only one cartridge. Stocking a multi-pack saves money and keeps you ahead of the 6-9 month replacement interval. If your source water has iron, manganese, or high sediment loading from a well, you may need a dedicated pre-treatment stage in front of the PSE1800 — the catalytic carbon is not designed to handle ferrous iron above 0.3 ppm.
| Product | Best for | Stage | Capacity |
|---|---|---|---|
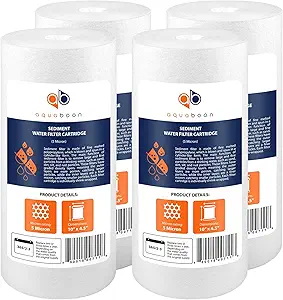
| Aquaboon 5 Micron 10x4.5 (4-pack) | Direct replacement cartridges for the PSE1800 housing | Pre-filter | ~9 months each |
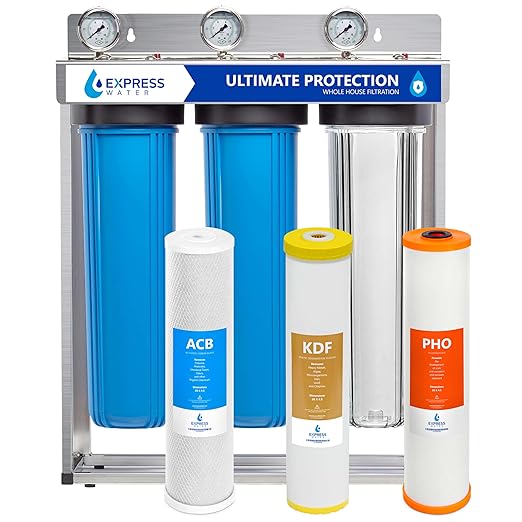
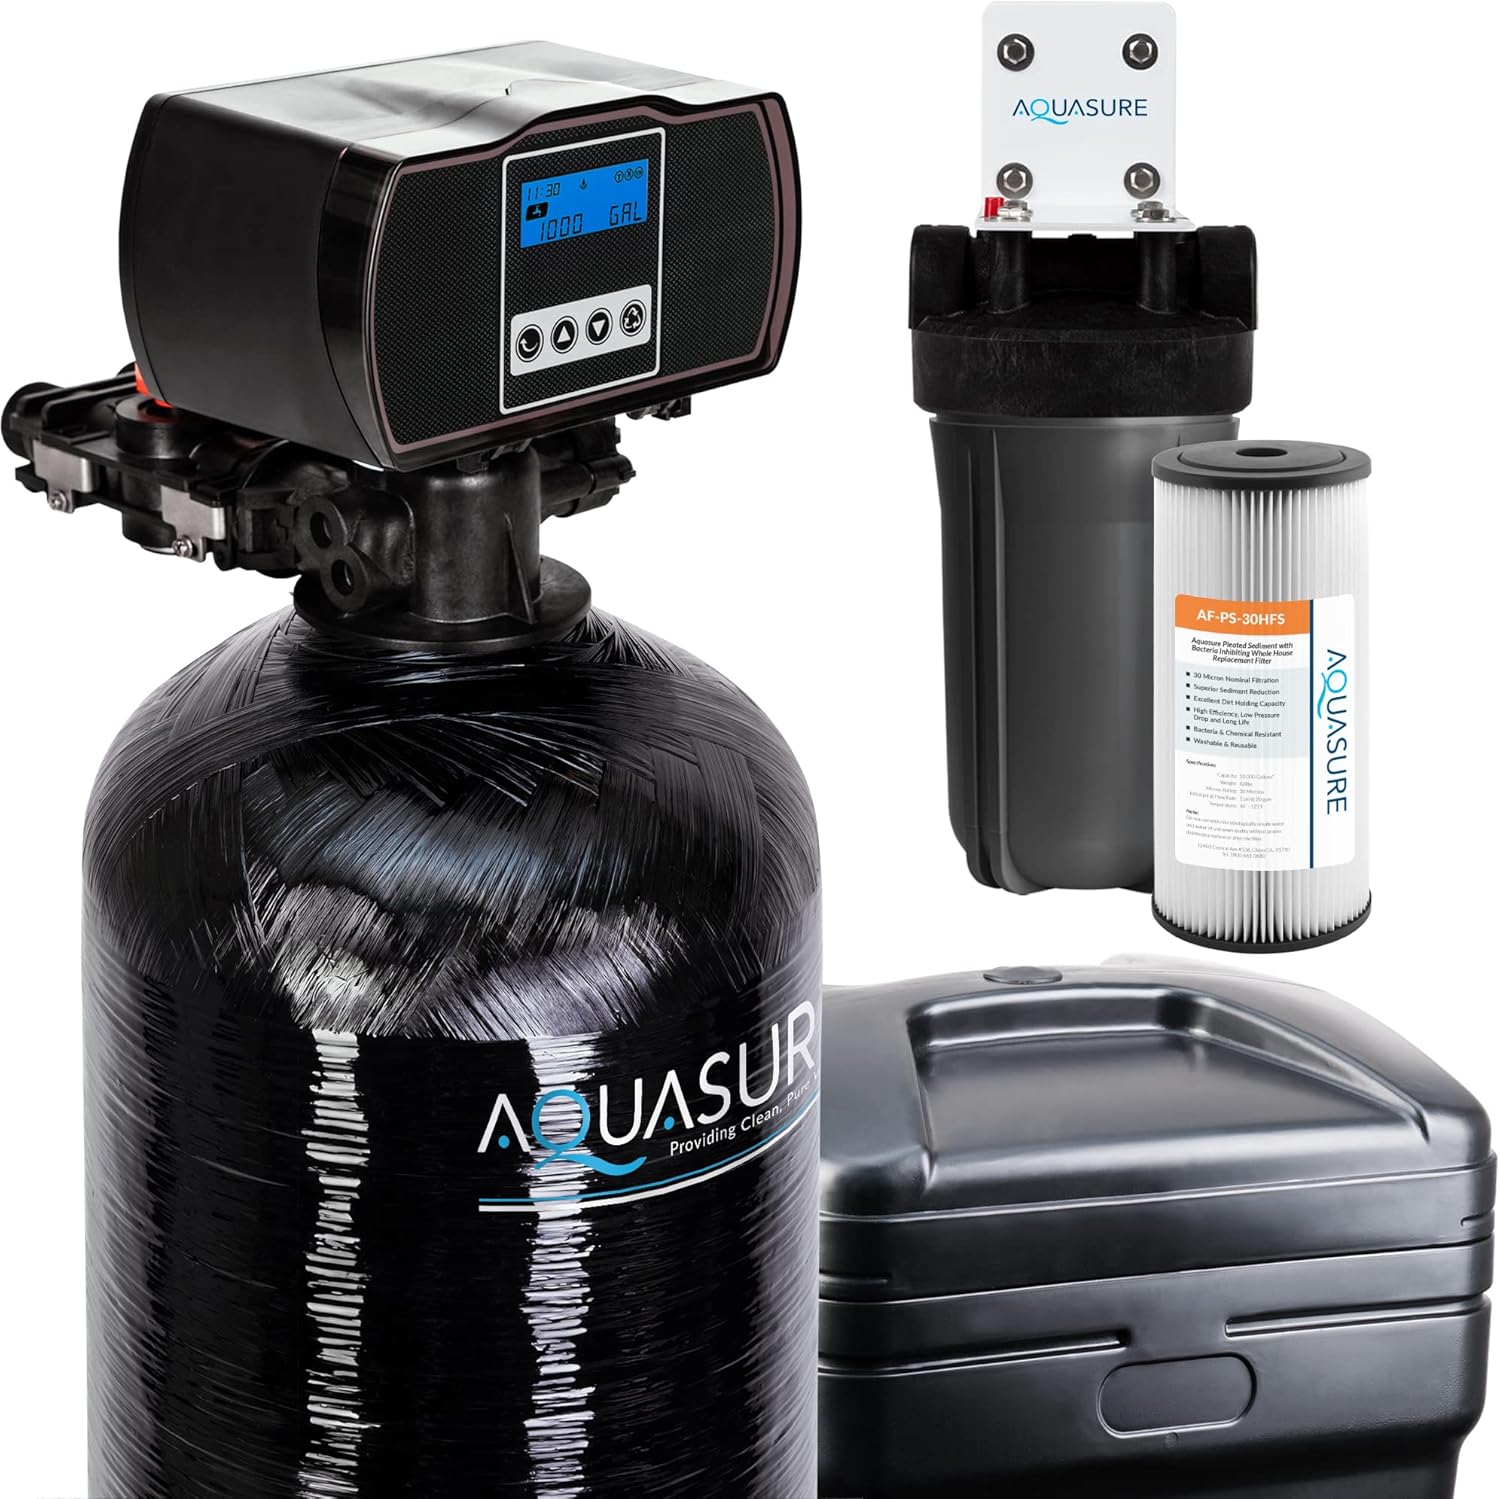
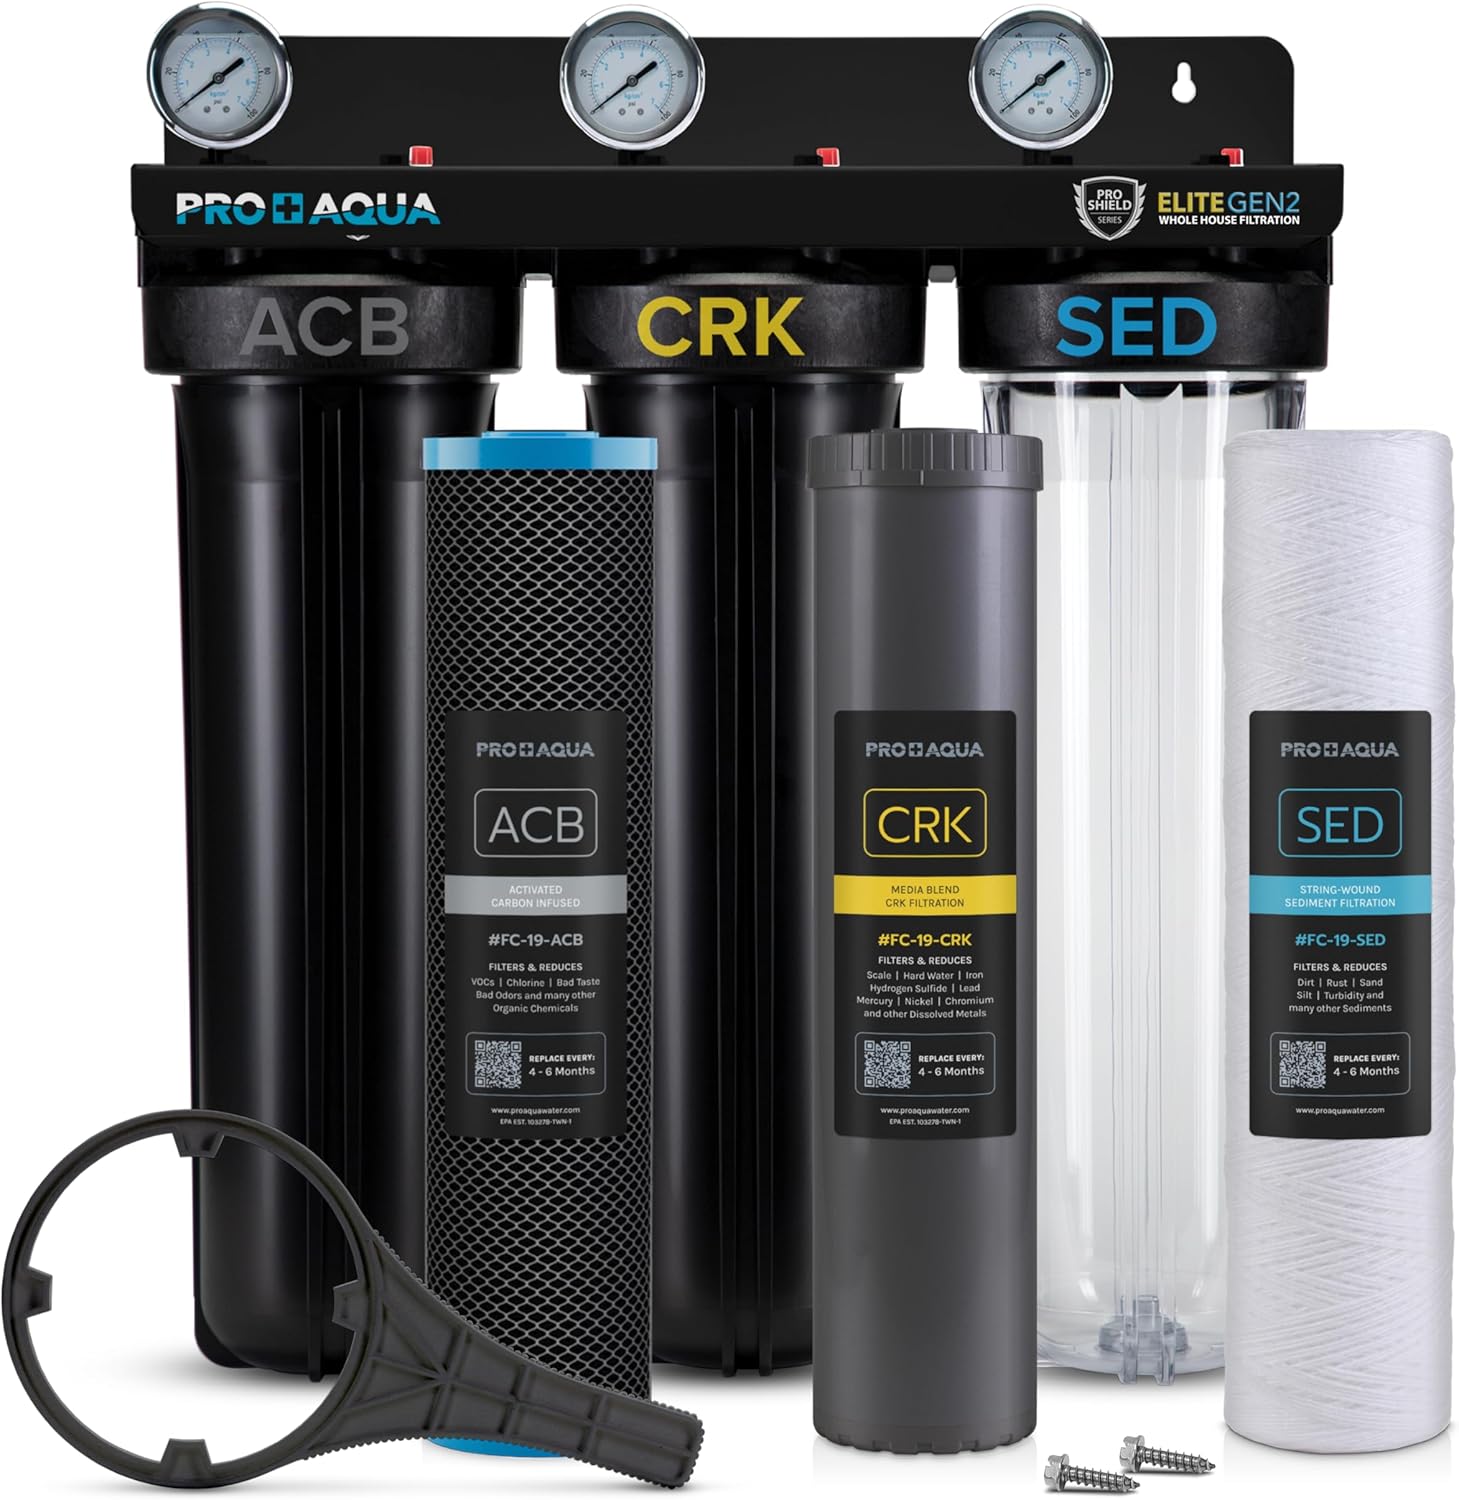
| Express Water 3-Stage Whole House | City water with sediment, chlorine, and taste upstream of the PSE1800 | Pre-treatment | 100,000 gal |
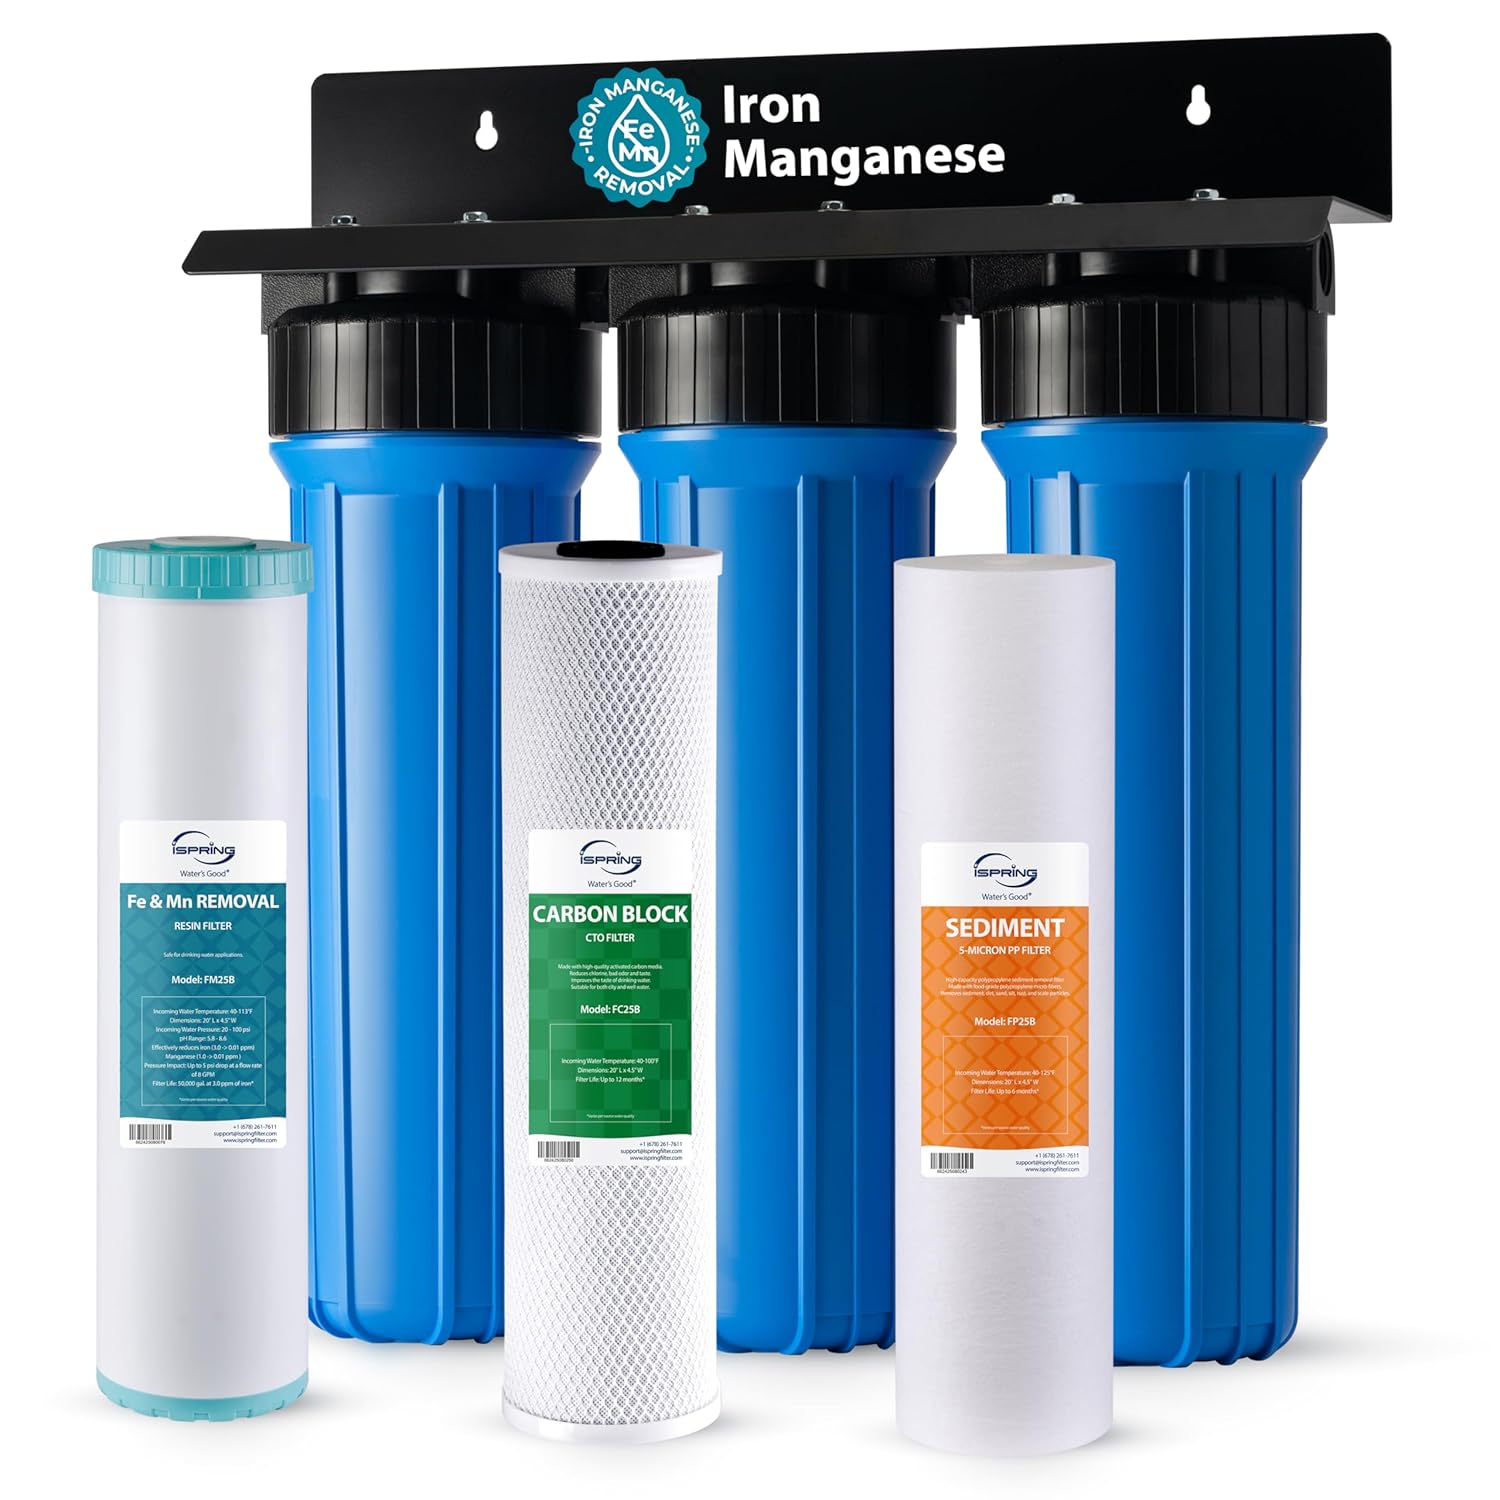
| iSpring Iron & Manganese System | Well water with iron above 0.3 ppm or manganese above 0.05 ppm | Pre-treatment | Backwashing |
| Aquasana 500K Well Water Filter + UV | Wells needing UV disinfection alongside the PSE1800 | Downstream | 500,000 gal |
Aquaboon 5 Micron 10x4.5 Well Water Sediment Filter (4-Pack)
These are the workhorse pre-filter cartridges for any whole-house housing in the 10x4.5 Big Blue form factor — which is exactly what the PSE1800 ships with. The 5-micron pleated design matches the spec Pelican calls out in the install manual, and a 4-pack covers three to four years of cartridge changes at typical city-water flow rates. Buying the multi-pack avoids the “I forgot to swap it” failure mode that fouls the catalytic carbon and tanks scale-prevention performance. Check the 4-pack on Amazon.
Express Water 3-Stage Whole House Water Filter System
If your detached garage feeds a house on chlorinated municipal water with seasonal sediment spikes, dropping the Express Water 3-stage upstream of the PSE1800 takes load off the catalytic carbon and extends media life noticeably. The sediment-KDF-carbon block sequence catches what the single 5-micron pleated cartridge would otherwise have to handle alone. It mounts on the same garage wall as the PSE1800 with three additional 1-inch PEX stubs and shares the same bypass loop. See it on Amazon.
iSpring Iron & Manganese Whole House Filtration System
The PSE1800 will fail prematurely on well water with elevated iron — the catalytic carbon binds ferric particles and clogs. If your 2026 well test shows iron between 0.3 and 3 ppm or manganese above 0.05 ppm, install the iSpring backwashing iron-and-manganese system on the inlet side of your bypass loop. It backwashes to a floor drain or 5-gallon utility sink in the garage, which is another reason the detached garage location works so well for this kind of pre-treatment. View it on Amazon.
Aquasana Whole House Well Water Filter, 500K Gallons, UV+Carbon+KDF
For wells that need bacteria control (any private well in 2026 should be tested annually), the Aquasana 500K with integrated UV is a strong downstream partner for the PSE1800. The salt-free conditioner handles scale, and the UV chamber inactivates anything that bypassed the sediment cartridge. Install it after the PSE1800 outlet so the UV lamp sees pre-conditioned water and stays clean longer between bulb changes. Check current price on Amazon.
Freeze protection for unheated garages
The PSE1800 fiberglass tank is rated to 40°F minimum service temperature. If your garage drops below freezing, you have three options ranked by cost: (1) a 1500W oil-filled radiant heater on a thermostatic plug holding 45°F, (2) self-regulating heat trace cable wrapped around the tank and pre-filter housing under closed-cell pipe wrap, or (3) a full bypass with seasonal drain-down. Option 2 is the right answer in most northern-US garages and runs about $80-120 in materials when you install Pelican PSE1800 detached garage PEX layouts in cold-climate states. For winterization timing and shutdown checklists, see our detached garage water system winterization guide.
Whichever route you pick, install a freeze-stat sensor on the inlet PEX line at the point it enters the garage. If the line freezes there, you want the garage shutoff to close before the tank head cracks. A $25 mechanical freeze-stat tied to a normally-closed solenoid valve is cheap insurance on a $1,500 system. For a deeper comparison of salt-free conditioners versus traditional ion-exchange softeners in cold-climate detached installs, our salt-free vs ion-exchange cold-climate guide covers the failure modes side by side.
Frequently Asked Questions
Can I install the Pelican PSE1800 in a detached garage 100 feet from the house with PEX?
Yes, but use 1-inch PEX-A for the buried run and expect 4-6 PSI of friction loss before the unit. At 100 feet you should also bump the house pressure regulator setting to 65 PSI if it is currently at 55, since the PSE1800 itself drops another 2-3 PSI across the cartridge and tank. Bury the line below local frost depth in 1.5-inch SDR-35 conduit so a freeze burst can be pulled and replaced without re-trenching.
Does the PSE1800 need a drain line in the garage?
No — the PSE1800 is a salt-free TAC system and does not regenerate. The only drain you need is a floor drain or 5-gallon bucket location for the annual pre-filter cartridge change and the initial commissioning flush. This is one of the main reasons detached garage installs work so well: no waste-water plumbing required, which dodges a permit step in most jurisdictions.
What PEX diameter should I use between the garage and house?
Use 1-inch PEX-A for runs over 40 feet, or 3/4-inch PEX-A for shorter runs serving a 1-bathroom dwelling. PEX-B is acceptable but has slightly higher friction loss due to the insert fitting’s reduced ID. Avoid CPVC for outdoor buried runs since it grows brittle in cold soil over a decade.
Will the PSE1800 work on well water with iron?
Only if iron is below 0.3 ppm. Above that, install a dedicated iron-and-manganese pre-treatment stage like the iSpring system in front of the PSE1800. The catalytic carbon media will foul rapidly on ferrous iron and lose its scale-prevention performance within months — long before the 5-year media warranty.
How do I winterize the PSE1800 in an unheated detached garage?
Close the house-side shutoff, open the three-valve bypass to atmosphere, unscrew the pre-filter housing to drain it, and use a small compressor to blow the tank dry through the inlet port at no more than 30 PSI. Cover the tank with an insulation blanket if you are leaving it in place for the season. If you keep the garage at 45°F with a thermostatic heater, no drain-down is required.
Can I use push-to-connect fittings instead of PEX crimp on the PSE1800?
SharkBite-style push-to-connect fittings are code-approved and fine for the bypass loop and inlet/outlet connections, but they cost roughly 3x more than crimp fittings across a full install. For long-term reliability in an unheated garage with thermal cycling, expansion PEX-A connections outperform push-to-connect by a meaningful margin and are worth the one-time tool rental.
How long does the PSE1800 catalytic carbon media last in a detached garage install?
Pelican rates the media at 5 years or 600,000 gallons, whichever comes first. In a detached garage with proper pre-filtration, expect to hit the time limit before the gallon limit on a 2-bathroom household — roughly 5-6 years. Without pre-filtration, sediment fouling can cut media life in half and void the warranty.
Key Takeaways
- Choosing the right install pelican pse1800 detached garage pex means matching capacity and output ports to your actual devices
- Always check actual watt-hours (Wh), not just watts — runtime depends on Wh, not peak output
- Also covers: pelican pse1800 garage installation pex
- Also covers: pse1800 detached garage setup
- Also covers: install pelican combo pex plumbing
- Compare price-per-Wh across models to find the best value for your budget