To install Fleck 7000SXT three stage prefilter UV combo systems, plumb four loops in series after the pressure tank: sediment prefilter → carbon block → KDF or iron-reduction stage → Fleck 7000SXT softener → UV sterilizer → house manifold. Cut power at the well pump, drain the line, mount the prefilter housings on a wall bracket, seat the Fleck control head with bypass already attached, then connect the UV chamber downstream so only softened, dechlorinated water hits the quartz sleeve. Allow 12–16 hours of resin hydration before the first regeneration. This 2026 guide walks through clearances, fittings, brine tank prep, lamp orientation, and the exact start-up sequence.
Why this exact stack order matters
The Fleck 7000SXT is a high-flow control valve (up to 35 GPM service) that lives or dies by what reaches it. Push raw well water containing sediment, iron flocs, or free chlorine into the resin bed and you foul the bed in a season. The three-stage prefilter handles particulates (5–25 micron), taste/odor (carbon), and dissolved metals or chlorine (KDF-55 or catalytic carbon). Once softened, the water enters the UV reactor essentially crystal clear, which is critical because UV-C dose collapses the moment turbidity rises above 1 NTU or hardness scale fogs the quartz sleeve.
When shopping for install Fleck 7000SXT three stage prefilter UV combo, it pays to compare specs, capacity, and real-world runtime before committing.
Reversing the order — UV before softener, for example — is the single most common DIY mistake. Hard water scales the sleeve in weeks, dropping germicidal output below 30 mJ/cm² long before the lamp's 9,000-hour rating expires.
Tools and materials checklist
- 1” PEX or CPVC main line, two shutoff ball valves, three sample ports
- Teflon tape, silicone faucet grease, pipe dope rated for potable water
- Wall bracket for prefilter housings (10” x 4.5” big-blue style)
- Bypass valve for Fleck 7000SXT (yoke or noryl plastic, both work)
- 1/2” drain line to floor drain or laundry standpipe, with air gap
- GFCI outlet within 4 feet of UV chamber
- Bag of high-purity solar salt for brine tank (50 lb)
- TDS meter and hardness test strips for commissioning
Step 1 — Plan the run before you cut a single pipe
Measure the wall length you have available. A complete install Fleck 7000SXT three stage prefilter UV combo takes 7–9 linear feet of wall plus 24” of depth for the softener tank. Allow 18” of vertical clearance above each prefilter housing so you can swing the wrench when changing cartridges. Mark the inlet, the bypass loop, and the drain line with painter's tape so you can visualize flow direction before sweating any fitting.
If you're sizing for a 4-bath home on a 20 GPM submersible pump, a 64,000-grain Fleck 7000SXT with 10" x 54" tank is the sweet spot. Anything smaller and you'll regenerate too often; anything larger wastes salt.
Step 2 — Build the prefilter bank
The three-stage bank is the workhorse. Stage one is sediment (20 or 5 micron pleated), stage two is carbon block for chlorine/VOCs, stage three is either KDF-85 for iron/H2S or a second tighter sediment if your well is sand-prone. Dry-fit the housings on the bracket first, leaving 1” between caps for cartridge swaps.
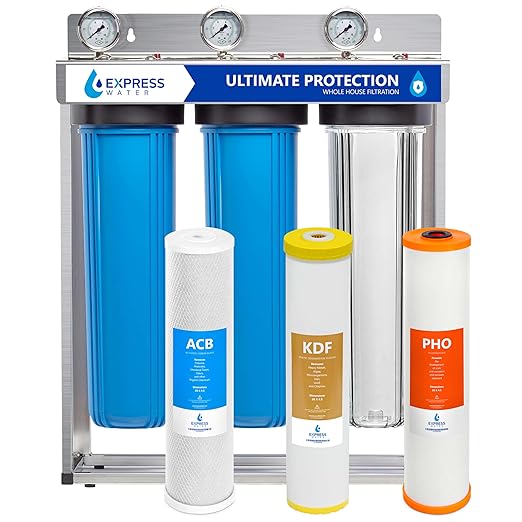
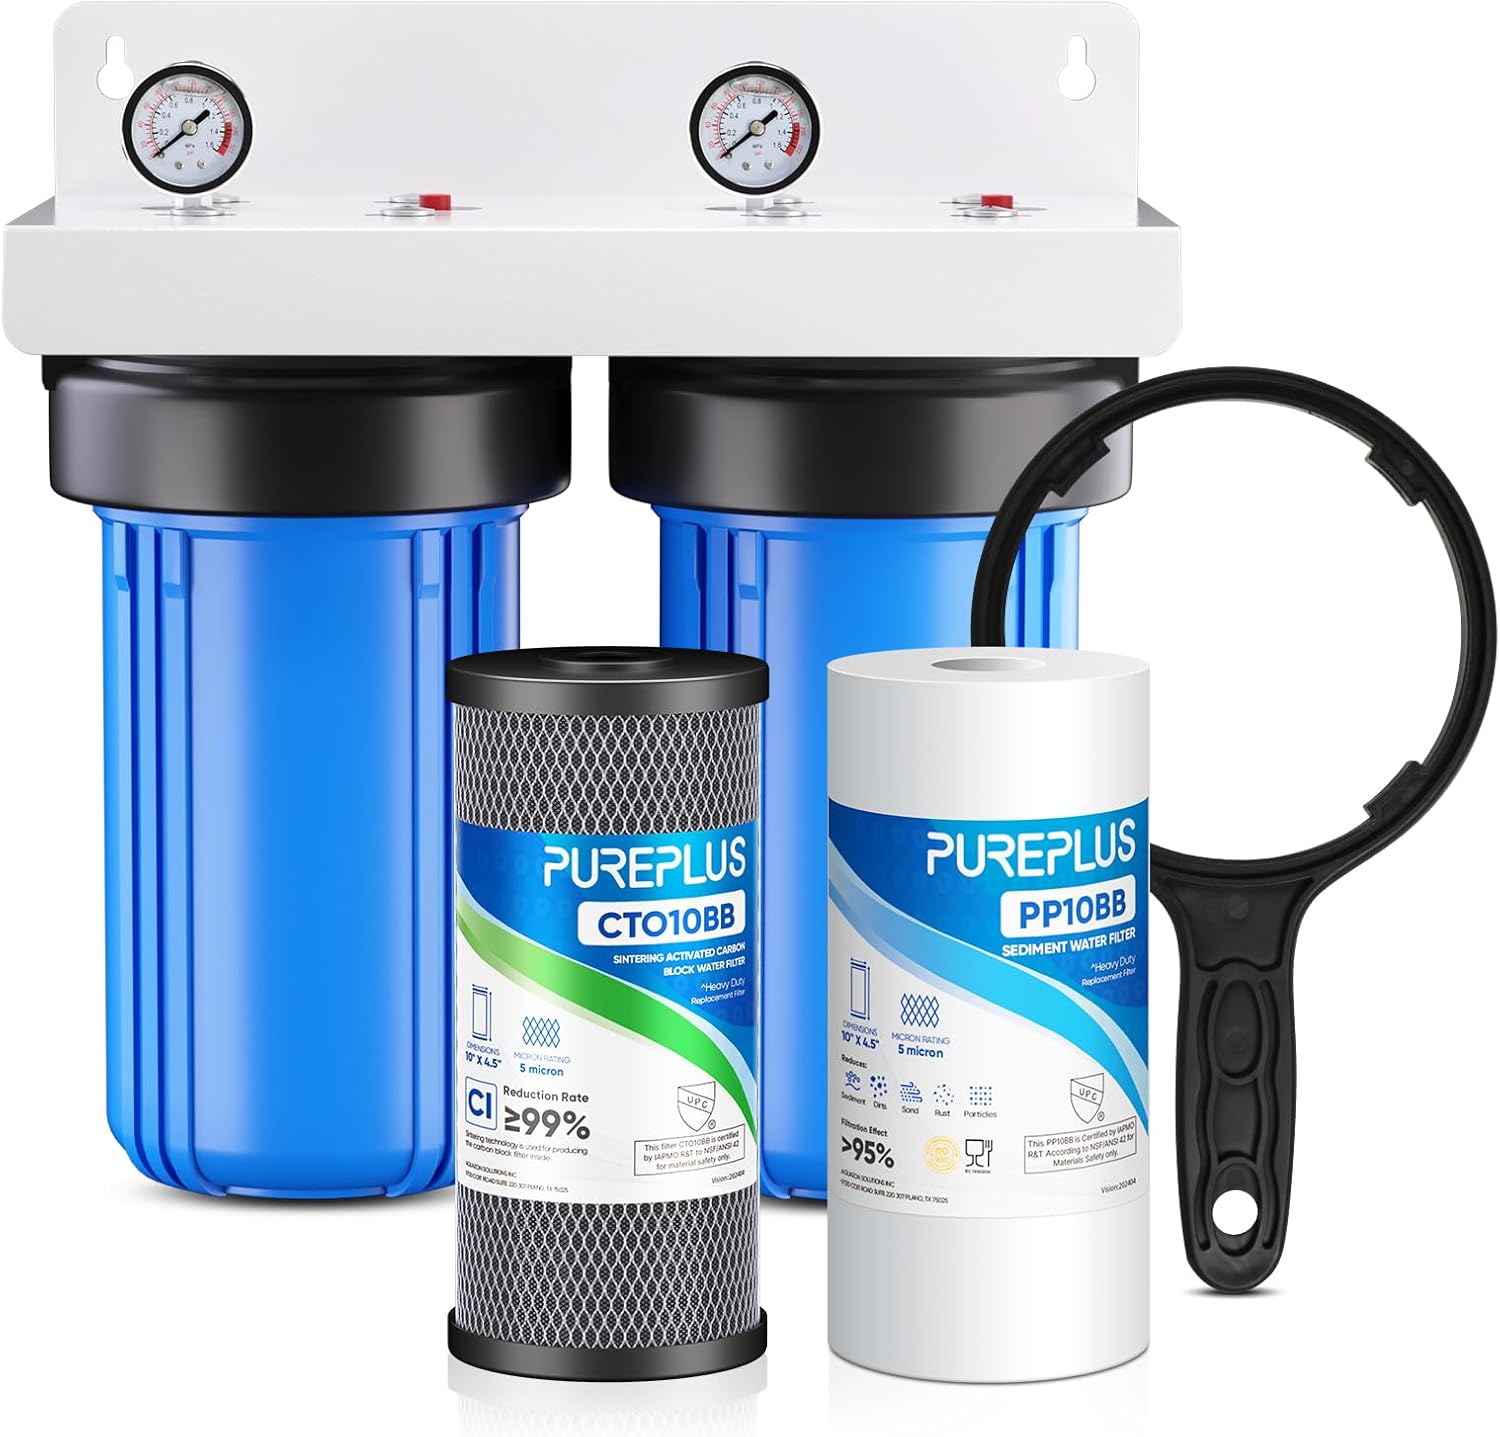
Express Water 3-Stage Whole House Water Filter System
This is the most common pick for a Fleck pre-treatment because it ships pre-assembled with a steel frame, color-coded housings, and pressure-release buttons that let you depressurize before unscrewing the sump. The 1" ports match standard Fleck inlet thread, and the 15 GPM rated flow won't bottleneck the softener. Build quality is good enough for an unfinished basement and the included gauges let you watch differential pressure climb as cartridges load up. View on Amazon
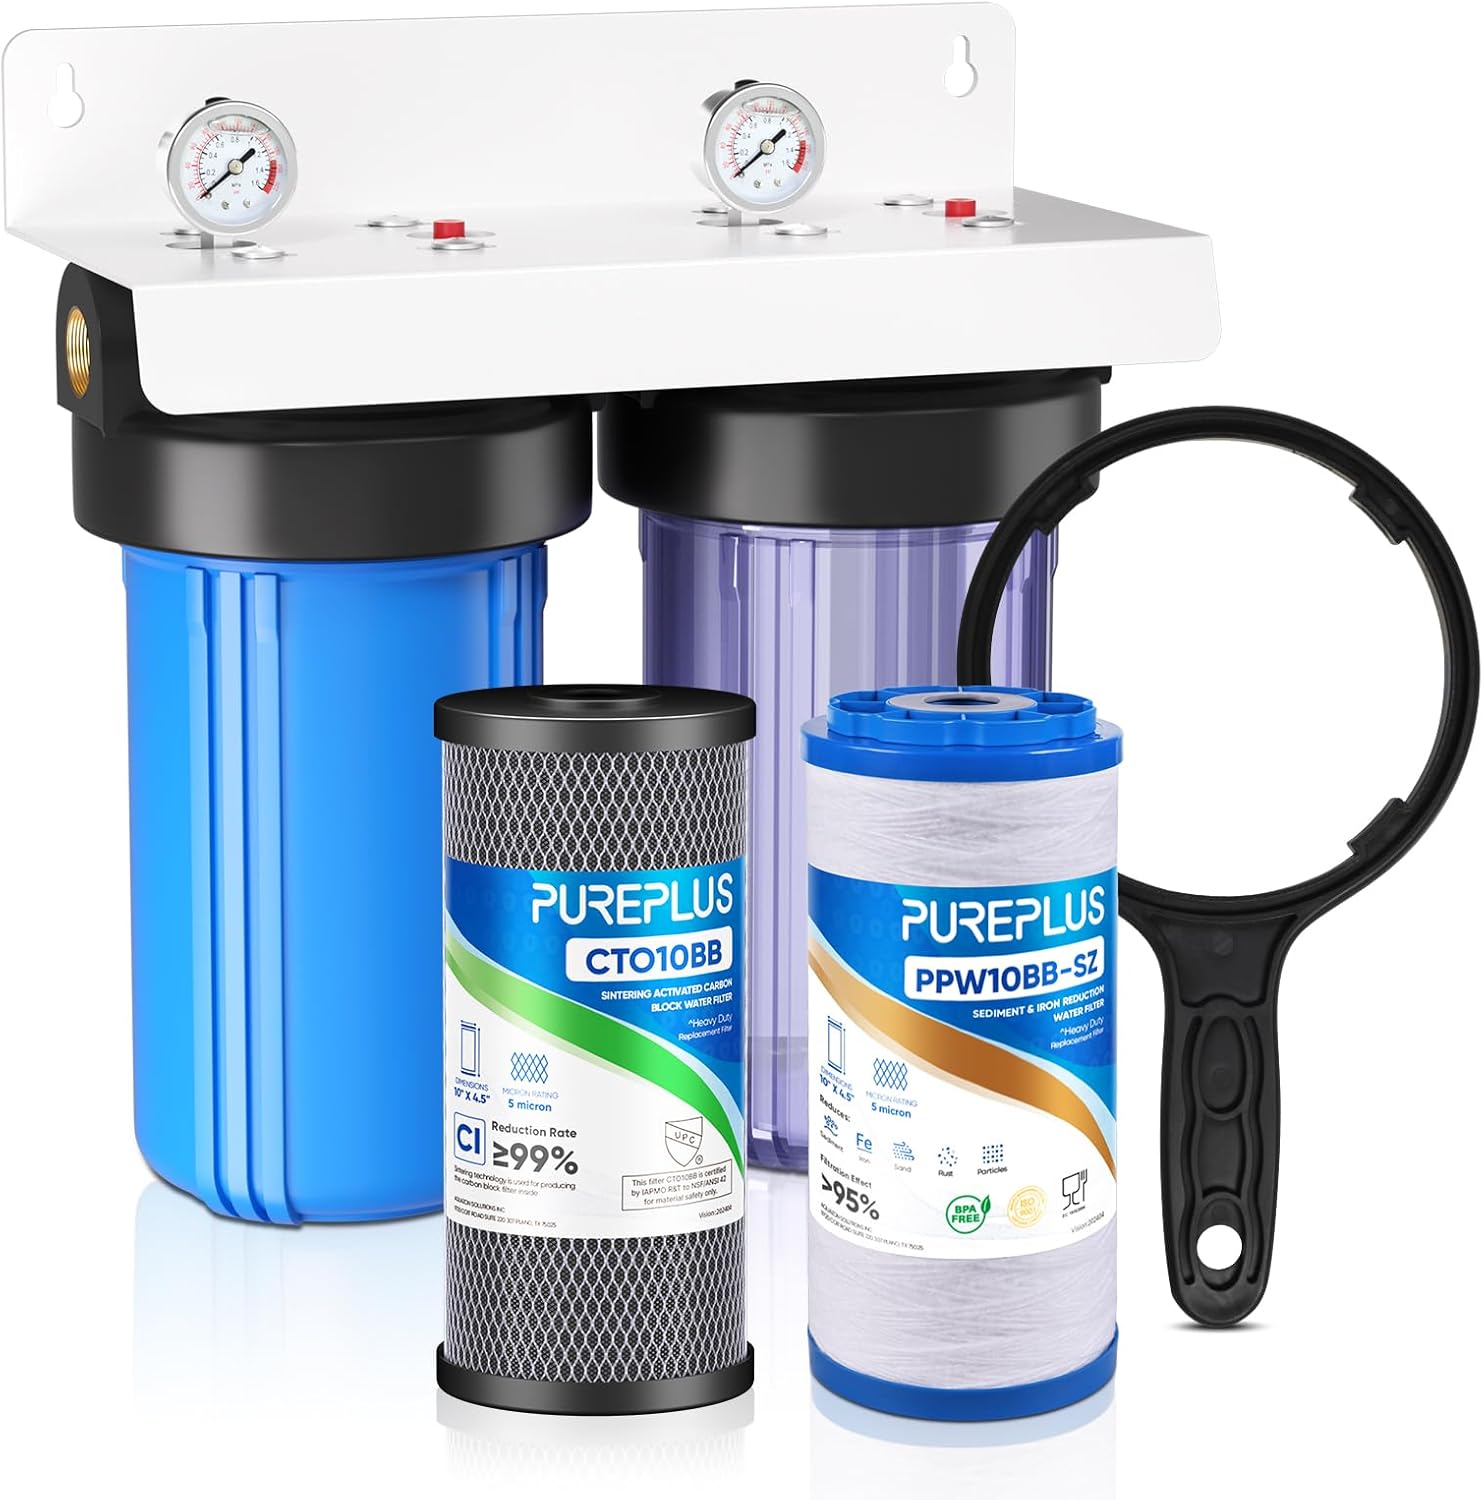
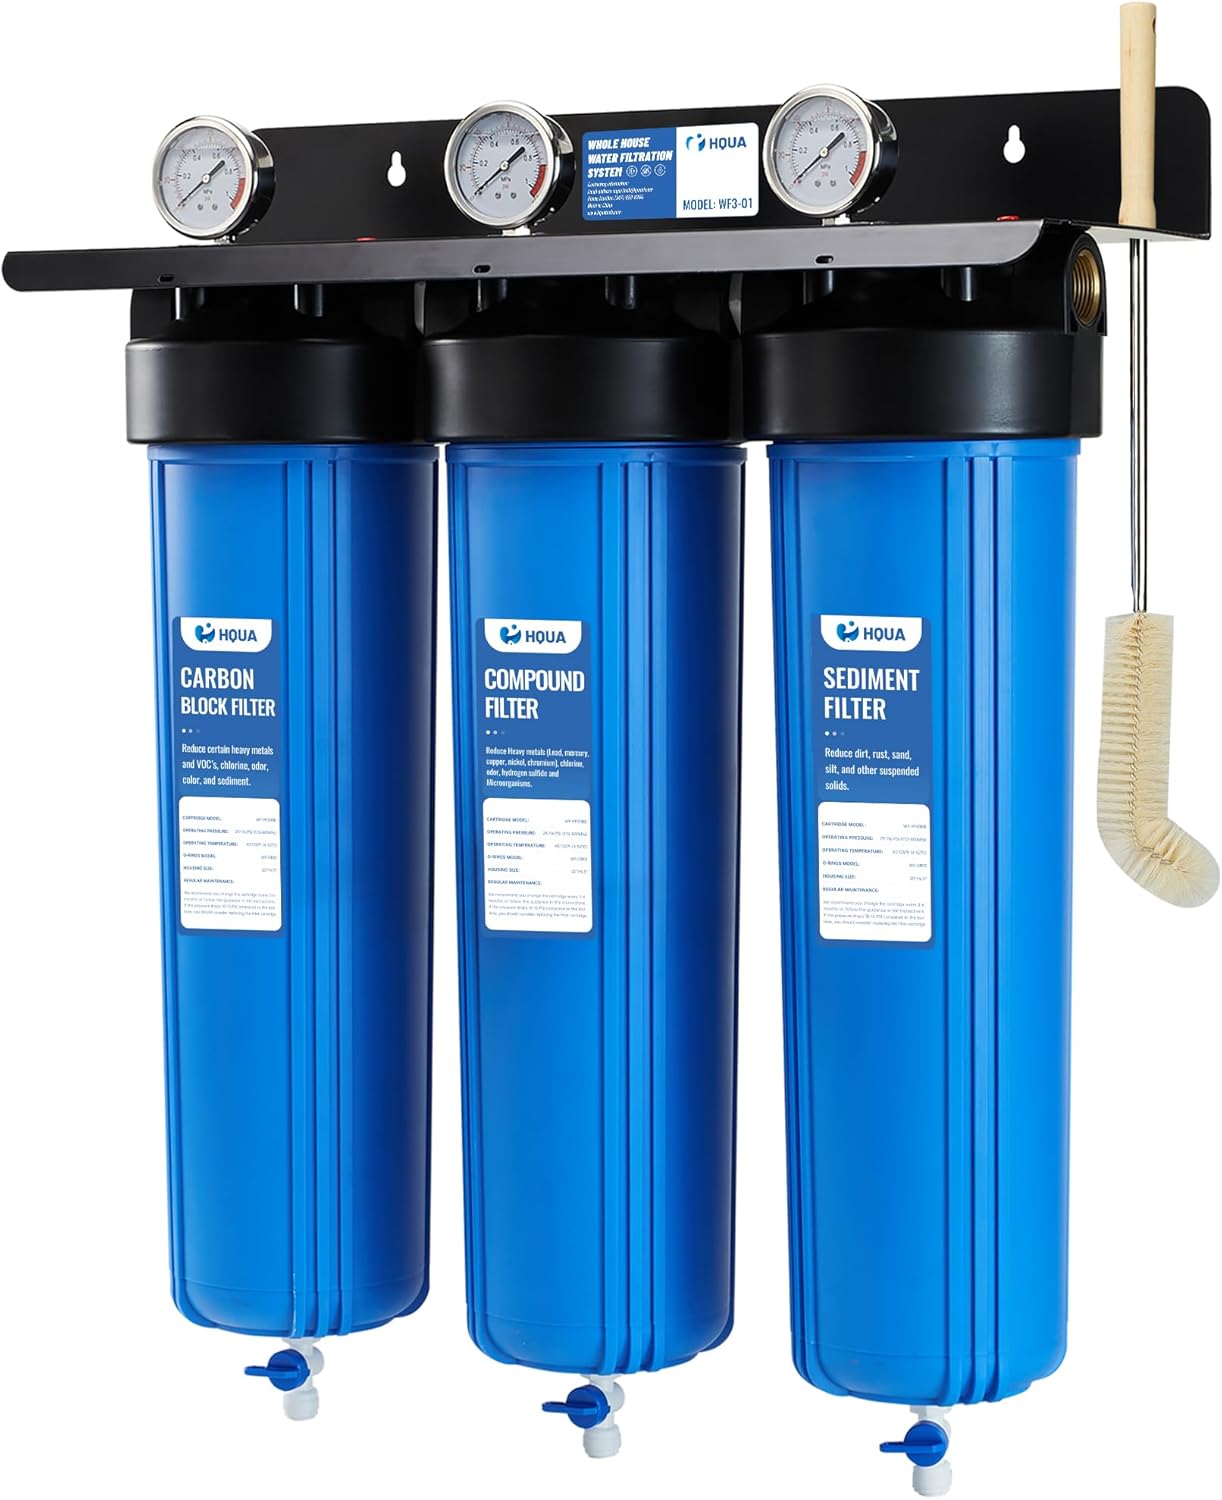
HQUA WF3-01 3-Stage Whole House Water Filtration System
A budget alternative with the same big-blue 10" x 4.5" form factor. The HQUA frame is slightly thinner steel, but the housings are interchangeable with any standard cartridge, which matters when you want to mix-and-match a KDF stage in slot three for iron-bearing well water. Pressure rating is 90 PSI, which is fine downstream of a 40/60 well tank. View on Amazon
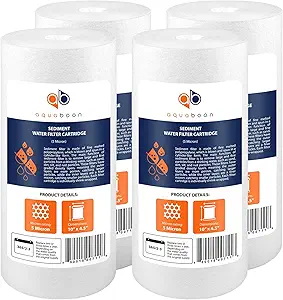
Aquaboon 5 Micron 10x4.5 Well Water Sediment Filter (4-Pack)
Keep a four-pack on the shelf. Sediment cartridges in stage one are sacrificial — on a typical well you'll swap every 2–4 months. The Aquaboon pleated polypropylene cartridges fit any standard 10" x 4.5" housing and the 5-micron rating is the right balance between throughput and protection for the Fleck resin bed downstream. View on Amazon
Step 3 — Set the Fleck 7000SXT control valve
Lubricate the tank O-ring with silicone grease (never petroleum jelly), thread the riser tube through the head, and hand-tighten the valve onto the tank. Do not use a wrench on plastic threads. Attach the bypass valve with the supplied clips, then connect the inlet/outlet yokes to your 1" line. The bypass should remain in the “bypass” position until commissioning.
Wire the head to a dedicated 120V outlet on a surge protector. Program the 7000SXT for: hardness in grains per gallon, regeneration at 2:00 AM, downflow brining, 10 lb salt dose per cubic foot of resin, and a reserve capacity of 10%. Skip the “day override” setting if you're on a metered valve — the meter handles it.
Step 4 — Wire and plumb the UV reactor
UV goes last in the wet flow path, but first in commissioning logic: you want zero microbial passage to the cold tap. Mount the chamber horizontally if the manual allows, with the lamp end accessible for annual swaps. The quartz sleeve must be installed dry — any fingerprint oils will burn onto the surface and reduce transmittance.
Wire the ballast to a GFCI outlet with a surge protector. Most ballasts draw under 1 amp but will trip non-GFCI outlets during lamp strike. Run a 1/4" sample port immediately downstream of the UV outlet for later microbial testing.
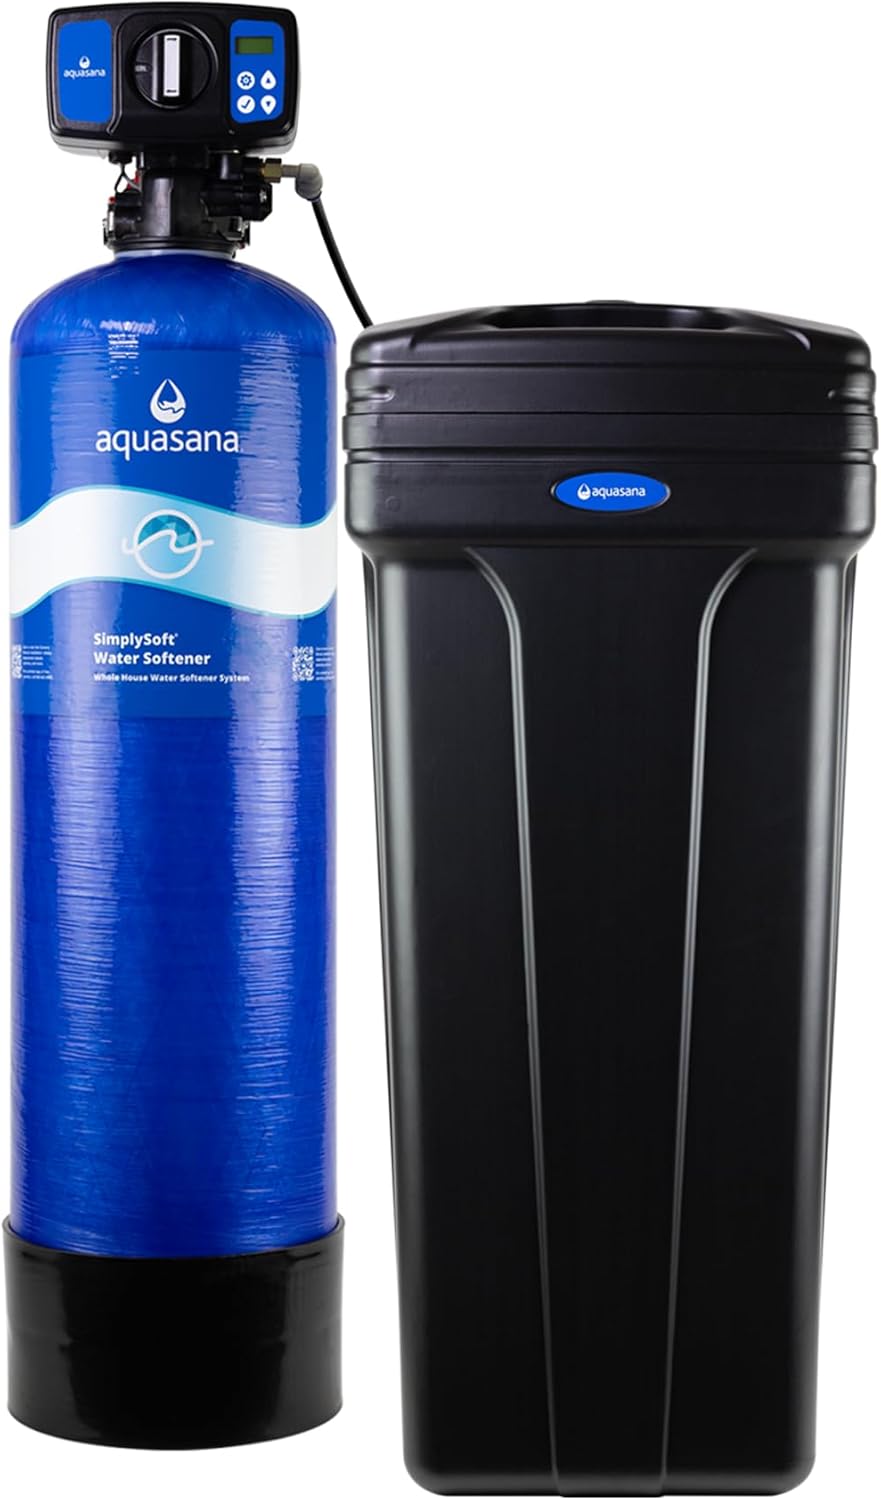
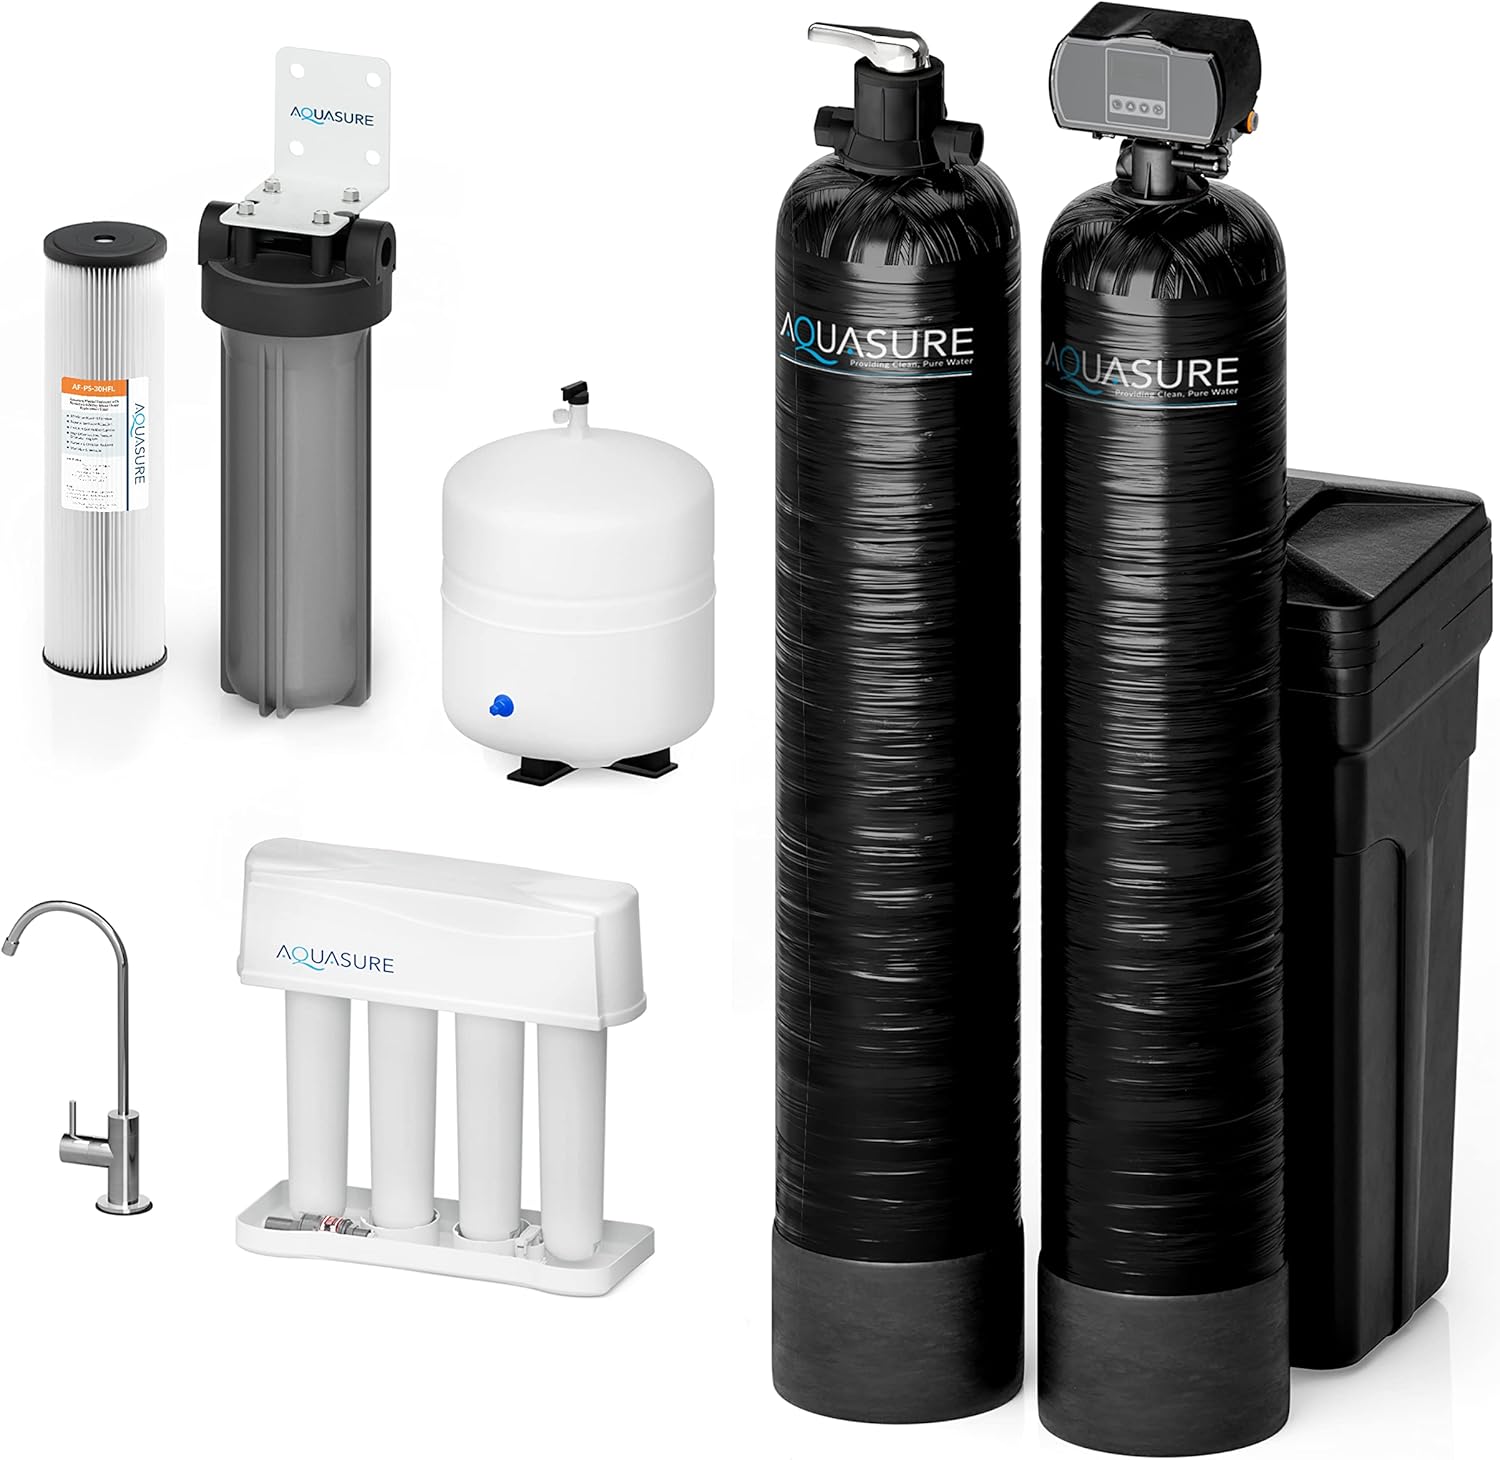
Aquasana Whole House Well Water Filter, 500K Gallons, UV+Carbon+KDF
If you'd rather skip the à la carte assembly, this Aquasana unit bundles a 500,000-gallon carbon-KDF tank with a built-in UV stage. You'd still pair it with the Fleck 7000SXT downstream for softening, but it consolidates the prefilter + UV legs into one footprint and one warranty. Worth considering when wall space is tight or you want a single vendor for the non-softening side of the stack. View on Amazon
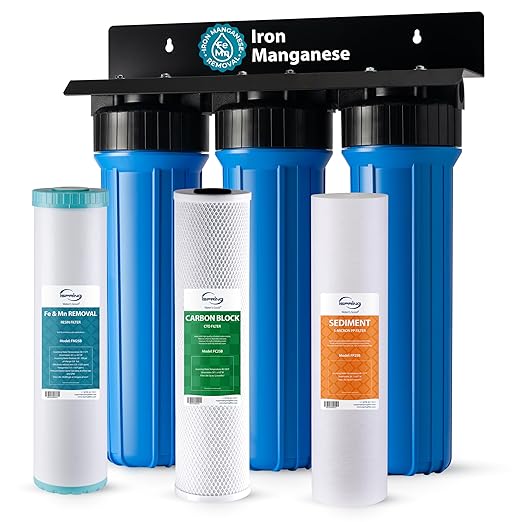
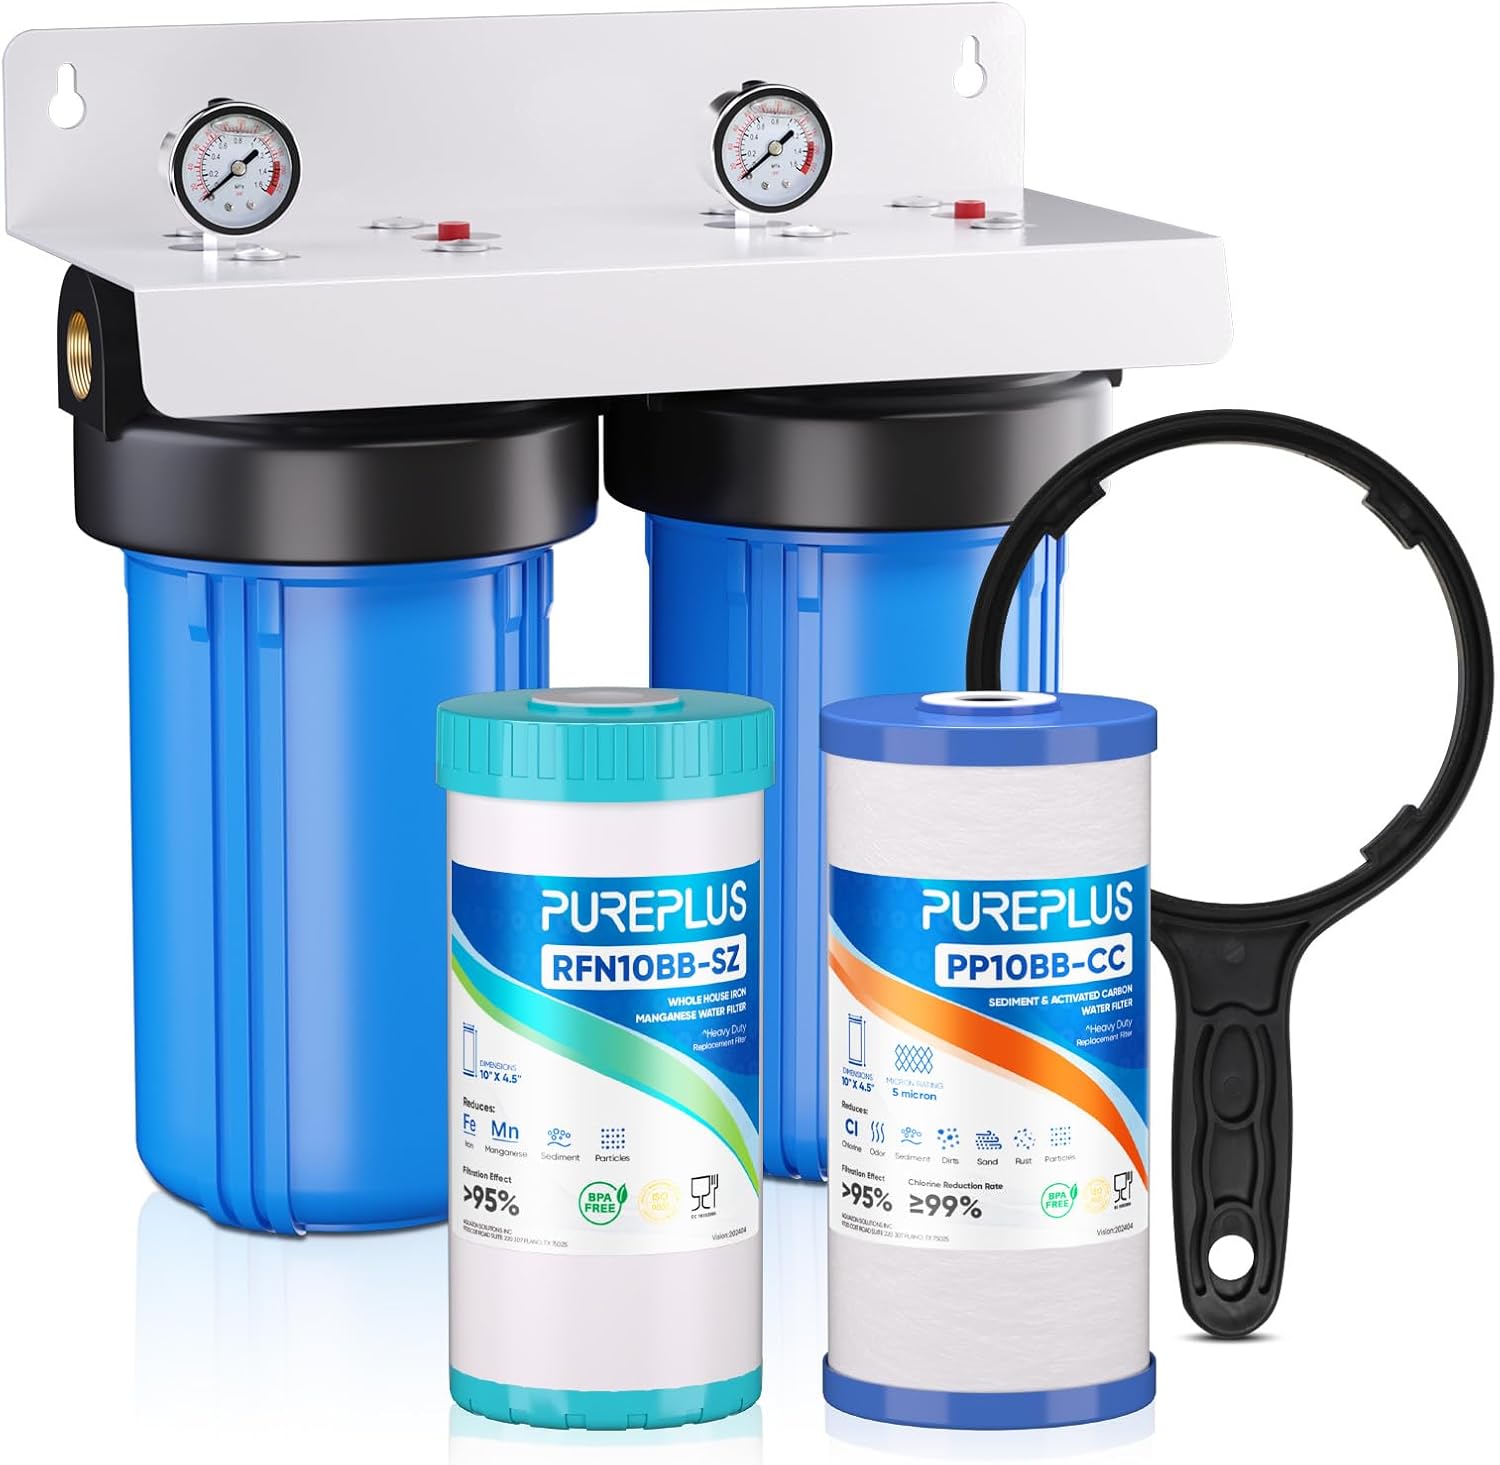
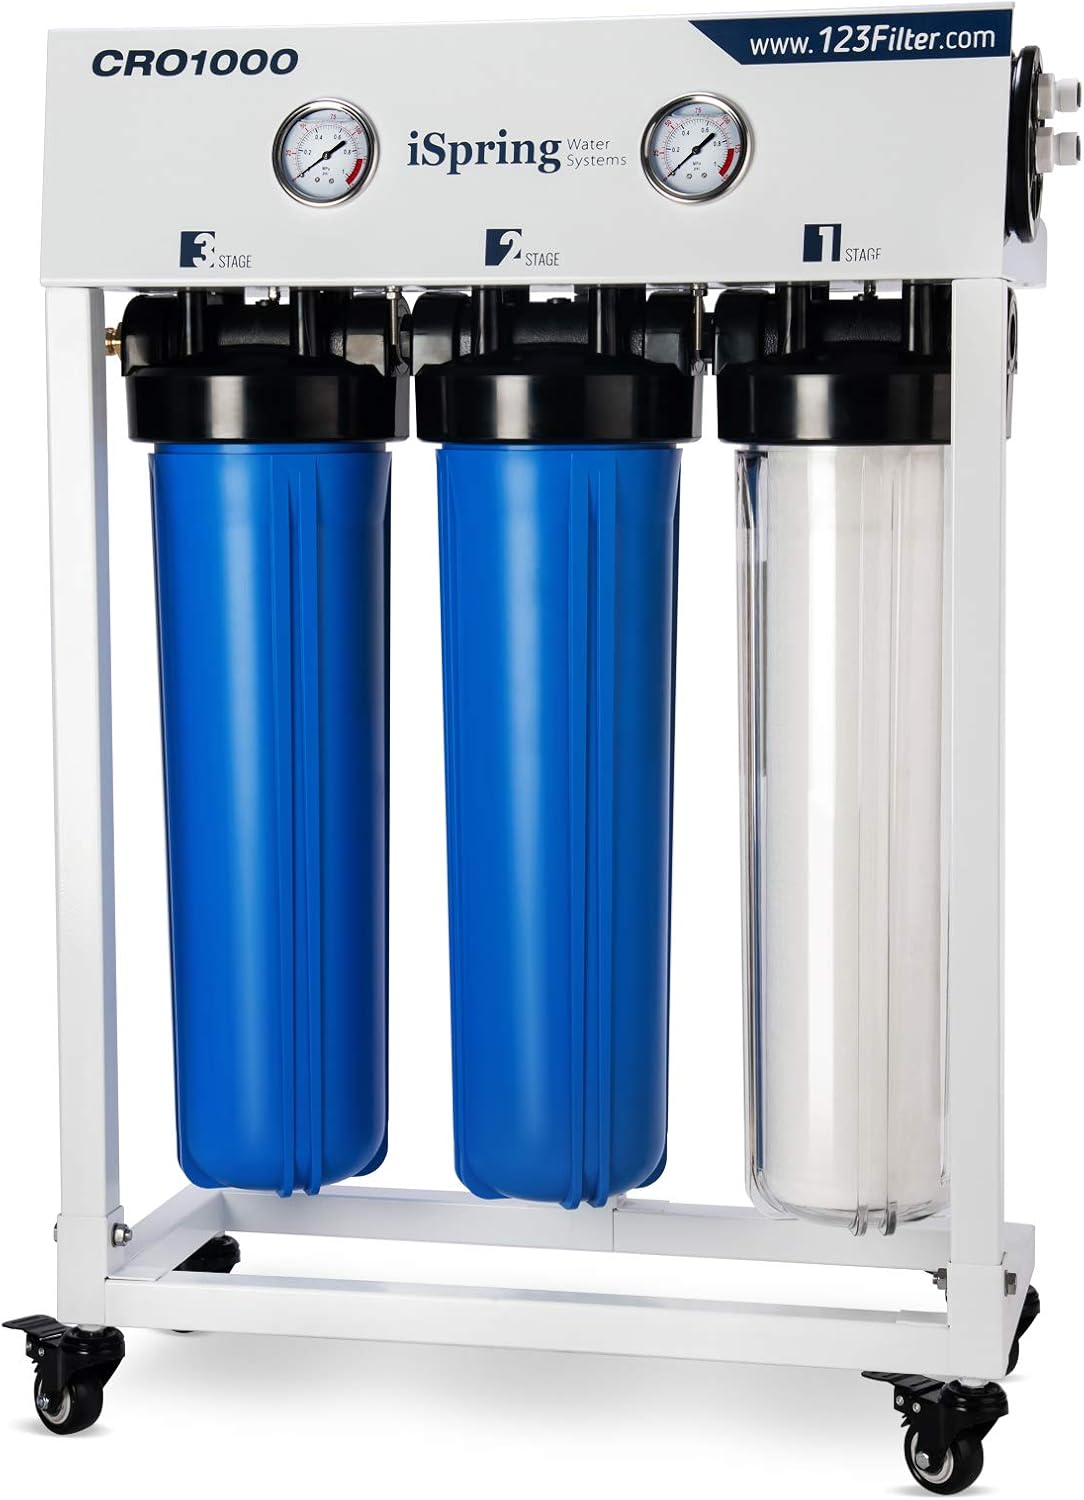
iSpring Iron & Manganese Whole House Water Filtration System
If your well report shows iron above 1 ppm or any manganese, drop this between the prefilter bank and the Fleck. Standard cation resin in the 7000SXT can handle a small amount of ferrous iron, but anything over 0.3 ppm fouls the bed and shortens service life dramatically. The iSpring uses a manganese greensand-style media and backwashes on its own clock, separate from the softener. View on Amazon
Comparison: which prefilter pairs best with the Fleck 7000SXT?
| System | Stages | Flow Rate | Best For | Pairs With UV? |
|---|---|---|---|---|
| Express Water 3-Stage | Sediment + Carbon + Carbon | 15 GPM | City or low-iron well | Yes, add UV downstream |
| HQUA WF3-01 | Sediment + Carbon + Customizable | 15 GPM | Budget builds | Yes |
| Aquasana 500K + UV | Carbon + KDF + UV (integrated) | 7 GPM | Pre-built UV combo | UV included |
| iSpring Iron & Mn | Greensand | 15 GPM | High iron wells (>1 ppm) | Yes, as iron stage only |
Step 5 — Brine tank setup
Place the brine tank within 20 feet of the softener (longer runs require a brine line booster). Fill the tank with 3 gallons of water before adding salt — this primes the brine pickup. Load 1/3 full with high-purity solar salt or pellets; never use rock salt unless you want to clean the brine well every year. Connect the 3/8" brine line to the Fleck head with the supplied compression fitting.
Drop the float assembly in, set the safety float to the manual's listed height, and verify the air check valve seats. A leaking air check will cause the softener to draw air during brining and the regeneration will fail silently.
Step 6 — First start-up sequence
This is the part that separates a clean install from a callback. Order matters:
- Close the bypass on the Fleck. Open the prefilter inlet shutoff slowly — 1/4 turn at a time over 30 seconds — to fill the prefilter housings without water-hammer.
- Open the air-bleed petcock on each prefilter cap until water flows steady.
- Put the Fleck in “backwash” mode manually and let it run for 10 minutes to flush resin fines to drain.
- Advance to “brine draw” and verify suction by watching the level drop in the brine tank.
- Complete the full regeneration cycle (about 90 minutes) and return to service.
- Energize the UV ballast. Wait 60 seconds for lamp warm-up before opening a downstream tap.
- Run a hose bib for 15 minutes to clear any resin fines or carbon dust.
Test hardness at the kitchen tap — you should see <1 gpg. Test chlorine at the same tap — should read zero. TDS will be slightly higher than raw water due to sodium ion exchange; this is normal.
Sizing pitfalls to avoid
The 7000SXT can handle 35 GPM peak, but if your prefilter bank is rated for 15 GPM you've created a bottleneck. Either upsize the prefilters to 20" x 4.5" housings or accept that your usable flow is capped at the weakest link. Most homes never see sustained flow above 12 GPM, so 15 GPM prefilters are fine in practice — just don't promise yourself shower-plus-dishwasher-plus-irrigation performance.
For deeper sizing math, see our three-stage sediment filter sizing guide and the softener resin selection breakdown for choosing between standard 8% and high-capacity 10% cross-link resin in the Fleck tank.
Maintenance schedule for 2026
- Monthly: check salt level, glance at prefilter pressure gauges (replace if ΔP > 10 PSI)
- Quarterly: swap sediment cartridge, sanitize brine tank if salt bridges
- Semi-annually: swap carbon block, wipe down UV quartz sleeve with vinegar
- Annually: replace UV lamp regardless of apparent function, test microbiology at outlet
- Every 3–5 years: rebed Fleck resin if capacity drops noticeably
Frequently Asked Questions
Can I put the UV before the softener instead?
Technically yes, practically no. Hard water scale builds up on the quartz sleeve and crashes UV transmittance within weeks. Always run UV downstream of the Fleck 7000SXT so the lamp sees softened, low-turbidity water. The only exception is if you have a separate iron filter and softener bypass for irrigation — then a sediment-only prefilter feeding the UV for outdoor lines can work.
What size UV chamber do I need for a Fleck 7000SXT install?
Size the UV to your peak flow, not average. For a 4-bath home with the 7000SXT, a 12 GPM UV (40W or 55W lamp) is standard. Going larger than your prefilter rating wastes electricity since the dwell time is already adequate. Compare options in our UV sterilizer roundup for well water.
How long does the full install take a first-timer?
Plan a full weekend. Day one: mount brackets, dry-fit plumbing, run the drain line. Day two: sweat or crimp fittings, wire the UV, charge the brine tank, run the first regeneration. Add another half-day if you're moving the well pump pressure switch or upgrading from 3/4" to 1" main line.
Do I need a separate iron filter before the Fleck 7000SXT?
If your iron is below 0.3 ppm and there's no hydrogen sulfide smell, the softener resin will handle it. Above that, add a dedicated iron stage like the iSpring Iron & Manganese unit before the softener. Manganese is harder on resin than iron — anything above 0.05 ppm warrants a dedicated stage.
Why does the Fleck 7000SXT keep regenerating too often?
Three usual suspects: hardness setting too low for actual water, reserve capacity set above 25%, or a leaking inlet meter feeding bogus gallon counts. Pull the meter, blow it out, and verify the turbine spins freely. Also confirm your hardness test isn't reading off a sample taken downstream of the carbon stage, which removes some scale-forming species and can artificially lower the reading.
What's the difference between the Fleck 5600SXT and 7000SXT for this build?
The 7000SXT has 1.25" porting versus the 5600SXT's 3/4", which roughly doubles usable flow without pressure drop. For a UV-included stack where you don't want any flow restriction starving the lamp dwell time, the 7000SXT is the right call. See the full Fleck 5600 vs 7000SXT comparison for the deciding factors.
Can I skip the carbon stage if I'm on well water with no chlorine?
You can, but most installers don't. Carbon also removes pesticides, herbicides, and any volatile organics that show up in shallow wells, plus it polishes taste and odor before the UV. The cost is trivial relative to the rest of the build, and it extends UV lamp life by reducing organic fouling on the quartz sleeve. Keep the stage and use a coconut-shell catalytic carbon block.
What drain configuration does the Fleck 7000SXT need?
A 1/2" drain line with an air gap, terminating at a floor drain, laundry standpipe, or utility sink. The line can run up to 20 feet horizontally and 8 feet vertically without flow problems. Never connect it directly to a sewer line without an air gap — back-siphoning contaminated water into the softener is a code violation in every state.
Key Takeaways
- Choosing the right install Fleck 7000SXT three stage prefilter UV combo means matching capacity and output ports to your actual devices
- Always check actual watt-hours (Wh), not just watts — runtime depends on Wh, not peak output
- Also covers: Fleck 7000SXT three stage filter install
- Also covers: Fleck 7000SXT UV system order
- Also covers: Fleck 7000SXT install with prefilters
- Compare price-per-Wh across models to find the best value for your budget