Installing a Fleck 5600SXT in a converted shipping container home demands a tighter, smarter plumbing layout than a stick-built install — corten steel walls, low ceilings, and shared mechanical bays leave little room for sloppy work. This fleck 5600sxt shipping container home install guide walks through pre-filtration, valve mounting, drain routing through the floor, brine tank placement, and how to keep the system serviceable inside a 20-foot or 40-foot box. By the end you'll know exactly what to buy, where to put it, and how to avoid the three most common mistakes container builders make in 2026.
Why Container Homes Change the Install Math
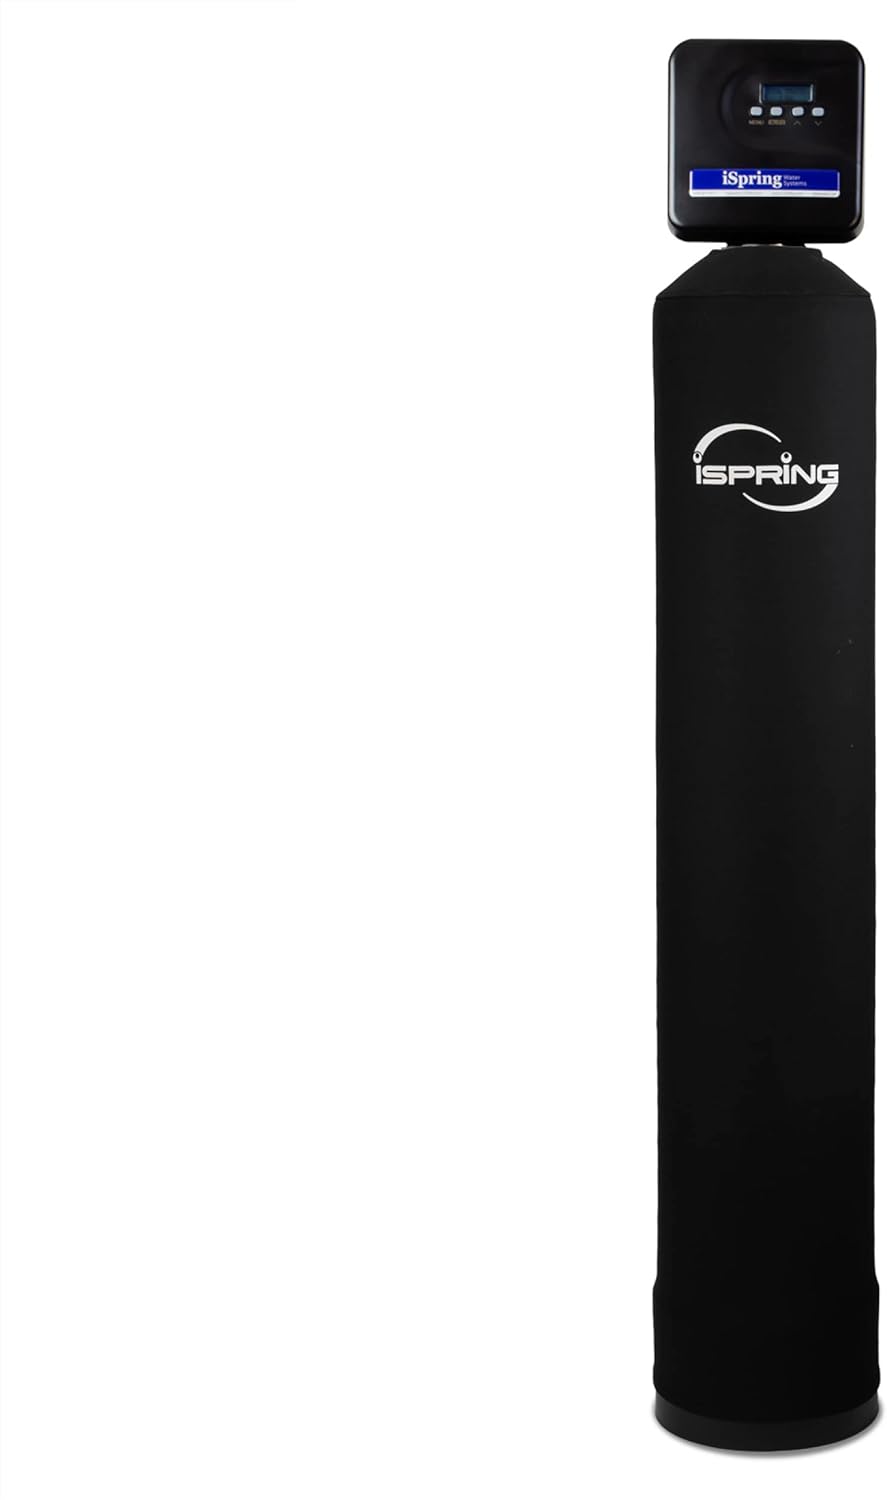
A standard Fleck 5600SXT softener consists of a 9- or 10-inch diameter fiberglass resin tank, a brine tank that holds 200-300 lbs of salt, the 5600SXT control valve on top, a drain line, and a bypass valve. In a typical basement install you bolt it to a wall, route a drain to a floor sink, and forget it for five years. In a shipping container, you fight three constraints at once: vertical clearance (most standard containers offer 7'10" interior height, less once insulated), floor penetration limits (the corrugated steel floor is structural and you don't want to swiss-cheese it), and shared mechanical space where every cubic foot competes with the water heater, electrical panel, and HVAC mini-split lineset.
The resin tank for a 32,000-grain 5600SXT system is typically 9" x 48" — including the valve head, you need about 56" of total height with at least 4" of overhead clearance for service. That fits under an insulated container ceiling, but barely. If you're using a high-cube container (9'6" exterior), you get an extra foot of breathing room and the install becomes meaningfully easier.
Sizing the System for a Container Footprint
Container homes typically house 1-4 occupants, which puts daily water demand between 60 and 320 gallons. With moderately hard water (10-15 grains per gallon), a 32,000-grain Fleck 5600SXT regenerates every 5-7 days for a couple, every 2-3 days for a family of four. If you're on well water — common for off-grid container builds — the grain capacity matters less than what's coming in before the softener. Iron, manganese, sediment, and tannins will foul softener resin within months if they aren't intercepted upstream. See our whole house water softener sizing guide for the hardness math; this article focuses on the spatial and mechanical install.
Pre-Treatment: Why It Matters More in a Container
You cannot easily pull a fouled softener out of a container mechanical bay and rebed it. There's no garage, no walk-around space, and the whole system is usually plumbed into a 24-30" wide chase. Pre-filtration isn't optional — it's the single biggest factor in whether your fleck 5600sxt shipping container home install lasts 10 years or 2.

For city-water container builds, a 5-micron sediment pre-filter plus a carbon block is usually enough. For well water, you need sediment plus iron/manganese removal plus carbon, in that order. Our well water pre-treatment checklist covers the testing side; the products below cover the hardware.
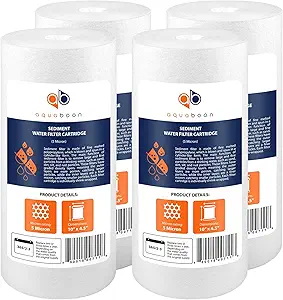
Aquaboon 5 Micron 10x4.5 Well Water Sediment Filter (4-Pack)
These are the workhorse cartridges that go inside a Big Blue housing immediately upstream of the Fleck. At 5 microns they catch rust flakes, sand, and pipe scale before the resin ever sees them. The 4-pack lasts a 2-person container household roughly 12-16 months. Buy them with the housing, not separately, and pre-stage at least one replacement set on a shelf inside the mechanical bay — container builds don't have garage overflow storage. View on Amazon.
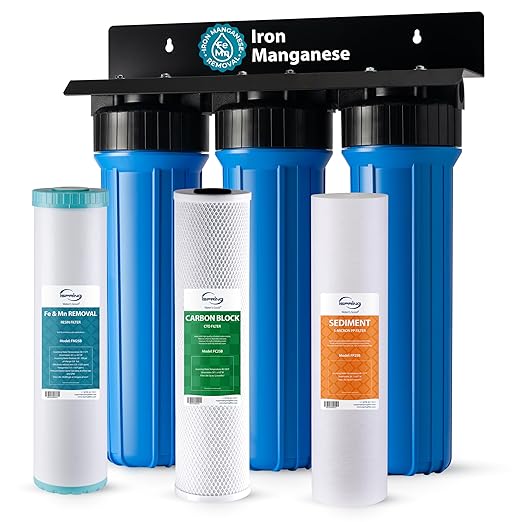
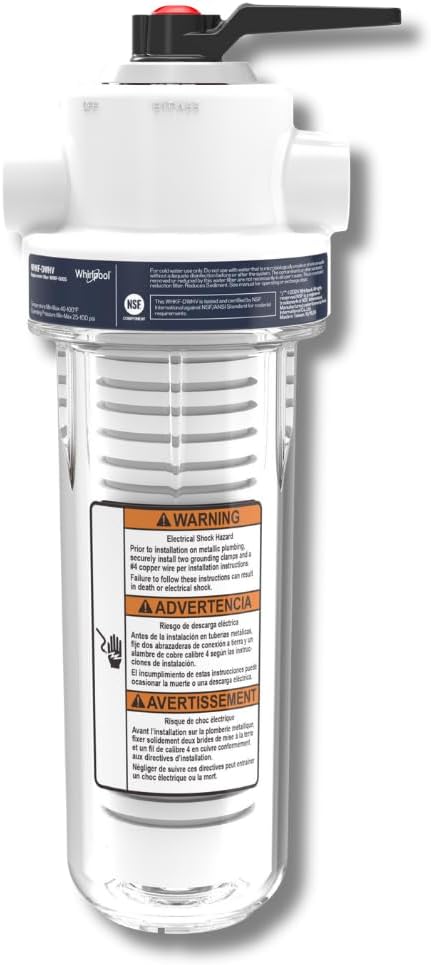
iSpring Iron & Manganese Whole House Water Filtration System
If your container home draws from a well — and most off-grid builds do — iron is the silent killer of softener resin. The iSpring iron and manganese system uses a manganese-greensand-style media that oxidizes dissolved iron up to 3 ppm and manganese up to 1 ppm before the water hits your Fleck. Mount it on the wall stud next to the 5600SXT so the regeneration drain lines can share a common floor penetration. View on Amazon.
Aquasana Whole House Well Water Filter, 500K Gallons, UV+Carbon+KDF
For off-grid container builds where the well is shallow and bacterial contamination is a real risk, the Aquasana 500K well filter bundles UV sterilization, KDF, and carbon into a single skid. It's the most footprint-efficient pre-treatment unit for a container — roughly 24" of horizontal wall space — and replaces what would otherwise be three separate housings. Pair it with the Fleck downstream and you have a complete potable system. View on Amazon.
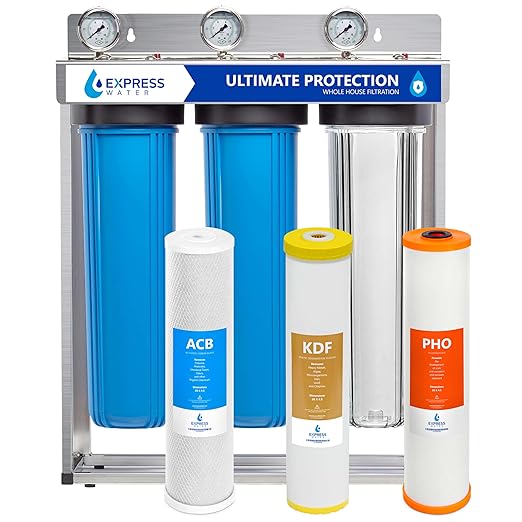
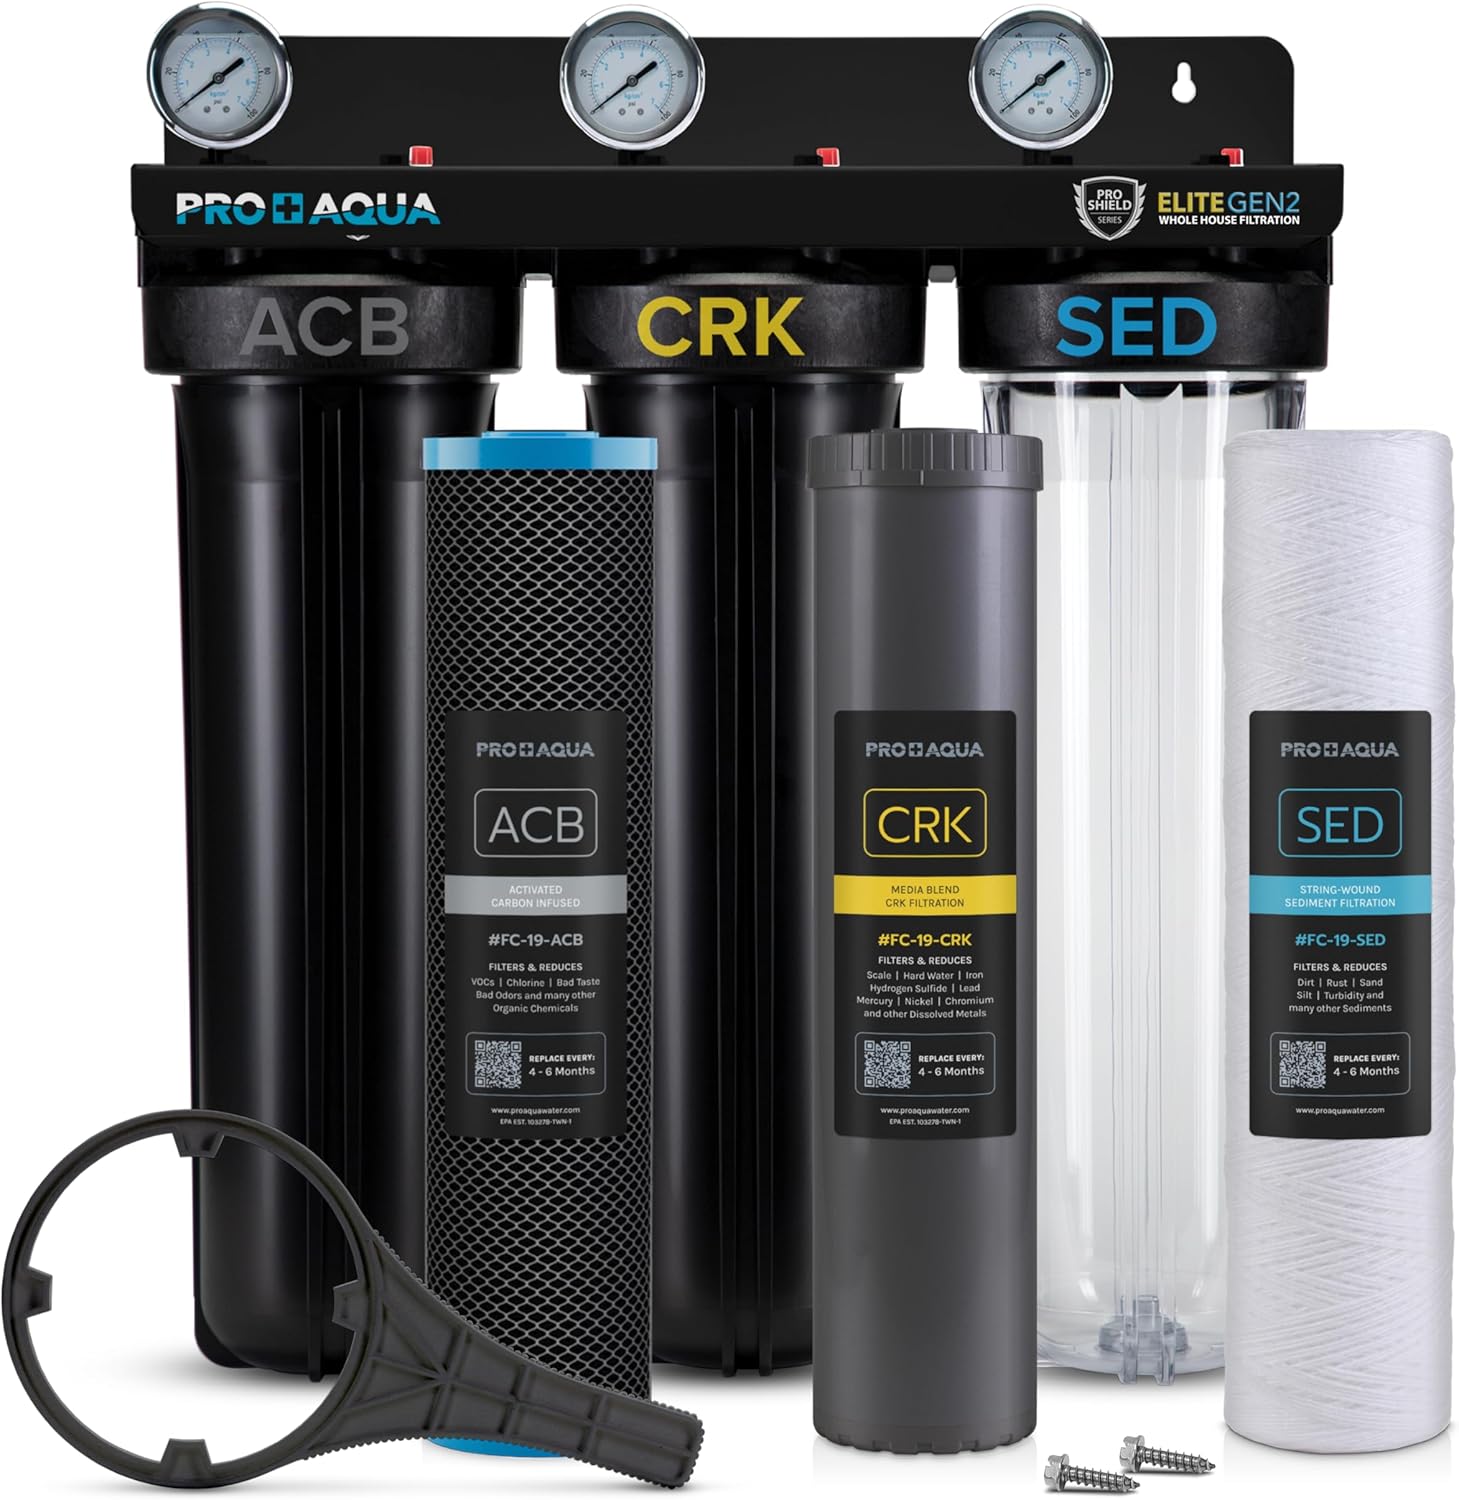
Express Water 3-Stage Whole House Water Filter System
For city-water container hookups (RV-park-style or municipal tap-in builds), the Express Water 3-stage is the cleanest pre-Fleck setup. Sediment, then KDF, then carbon block — all in one wall-mounted manifold that takes 28" of horizontal space. The clear sediment housing lets you eyeball cartridge condition without pulling anything apart, which matters when service access in a container is genuinely cramped. View on Amazon.
HQUA WF3-01 3-Stage Whole House Water Filtration System
The HQUA is the budget equivalent of the Express Water — same three-stage concept, slightly smaller housings, lower flow ceiling (around 15 GPM versus 18). For a 1-2 person container build it's plenty, and the smaller housings buy you an extra 4" of wall clearance that you may need around a corner stud. View on Amazon.
Comparison: Pre-Treatment Picks for a Container Install
| System | Best Source Water | Wall Footprint | Flow Rate | Service Interval |
|---|---|---|---|---|
| Aquaboon 5 Micron Cartridges | Any (sediment only) | 10" housing | Up to 20 GPM | 3-6 months |
| iSpring Iron & Manganese | Well with iron | 14" tank | 15 GPM | Backwash weekly |
| Aquasana 500K UV+Carbon+KDF | Well, bacterial risk | 24" | 7 GPM | 500K gal / UV bulb yearly |
| Express Water 3-Stage | City / municipal | 28" | 15-18 GPM | 6-12 months |
| HQUA WF3-01 3-Stage | City / light well | 24" | 15 GPM | 6-12 months |
Step-by-Step Install Sequence
The order matters more in a container than in a stick-built home because once you close the wall, access is gone. Work in this sequence:
- Frame the mechanical chase first. Reserve a 30" wide x 60" tall x 18" deep cavity against an interior wall. Don't share this wall with the bathroom — vibration from the Fleck during regeneration will telegraph through corten steel.
- Cut the floor drain penetration. Use a 2" hole saw through the steel floor pan into the conditioned crawlspace below. Sleeve with rubber-isolated PVC to prevent galvanic corrosion. This is the single drain that serves both the Fleck and any backwashing pre-filter.
- Mount the pre-filter housings. Big Blue housings hang on a unistrut crossbar lagged into the wall studs. Leave 8" of vertical drop below each housing so you can swing the sump down without removing the housing.
- Position the resin tank. Slide it into place before plumbing anything. The 5600SXT valve threads onto the riser tube — do this on the ground outside the container, then carry the assembled tank in.
- Plumb the bypass. Use stainless flex connectors between the Fleck inlet/outlet and the hard plumbing. Container homes flex thermally far more than wood-framed homes; rigid copper joints into the valve head will crack within a few seasons.
- Set the brine tank. 30-gallon round brine tanks fit under a counter or in a closet floor; the brine line runs back to the 5600SXT valve. Keep the run under 6 feet to avoid air-lock during the brine draw cycle.
- Program the 5600SXT. Set hardness, capacity, day override (7 days max for unattended container builds), and regeneration time to 2 AM.
Plumbing Layout for Tight Mechanical Bays
The classic mistake is plumbing the Fleck horizontally — running inlet and outlet across the front of the valve to save vertical space. Don't. The 5600SXT control head is designed for top-down water flow, and lateral plumbing creates air pockets that disrupt the brine draw. Instead, use vertical risers up from the floor with 90-degree elbows at valve height. If you absolutely must save horizontal space, use the bypass yoke's rotated mounting (it ships with a 360-degree rotatable yoke specifically for this purpose).
Insulate every cold-water line in the mechanical bay with closed-cell foam. Containers swing 40°F daily in shoulder seasons and condensation will rain off uninsulated copper directly onto the 5600SXT electronics — a fast way to fry the controller.

Drain Routing Through the Container Floor
The 5600SXT drain line is 1/2" poly tubing rated for low pressure. During regeneration it discharges roughly 15-25 gallons over 90 minutes. You have three options for where this water goes:
- Floor penetration to a graywater holding tank — best for off-grid builds. Plumb to an HDPE tank under the container.
- Drywell discharge — drill through the floor and daylight to a perforated drywell 10+ feet from any foundation pier.
- Tie into existing graywater stack — if your container is plumbed to a septic or municipal sewer, the simplest route is a 1/2" barb into a graywater branch with an air gap.
Whichever you choose, maintain a minimum 1/4" per foot fall and never raise the drain line above the valve. For more on Fleck-specific drain troubleshooting, our Fleck 5600SXT troubleshooting page walks through the most common drain backflow symptoms.
Common Mistakes in a Container Fleck Install
Three mistakes show up over and over in 2026 container builds. First, undersizing the resin tank because the builder assumed "one person uses less water" — but regeneration frequency, not total consumption, drives resin life, and a 16K-grain unit will regenerate twice as often. Second, putting the brine tank in an unconditioned space — salt absorbs humidity, bridges, and stalls the brine draw. Third, ignoring the bypass valve. Container homes need to be winterized; without a working bypass, you'll find yourself draining the resin tank in November.
Frequently Asked Questions
Can a Fleck 5600SXT fit inside a 20-foot container home?
Yes. With a standard-height container you have 7'10" interior clearance, which accommodates a 9x48 resin tank plus the valve head (about 56" total) with room for service. A high-cube 20-footer makes it easier. The brine tank is the bigger spatial challenge — plan for a 15x30 round tank that you can tuck under a counter or in a utility closet.
How do I run the drain line if my container is on piers?
The cleanest path is straight through the floor pan with a sleeved PVC penetration, then to either a graywater holding tank or a drywell at least 10 feet from any structural pier. Maintain 1/4" per foot fall and use an air gap fitting at the discharge end to prevent siphoning back into the resin tank.
Do I need a sediment pre-filter before a Fleck 5600SXT in a container build?
Yes — more than in a conventional home. Container builds often have shorter, more exposed supply runs that pick up debris from new fittings. A 5-micron sediment cartridge upstream catches it before it fouls the resin. The Aquaboon 4-pack is the budget standard and lasts a 2-person household 12-16 months.
What if I'm on well water with high iron?
You must remove iron before the softener. Iron oxidizes on the resin beads and permanently fouls them within 6-12 months even at 1 ppm. Use a dedicated iron and manganese filter like the iSpring upstream. If your iron is above 3 ppm you'll need an air-injection oxidizer ahead of the iSpring as well.
Can the 5600SXT survive container temperature swings?
The controller is rated for 35°F to 100°F operation. If your container drops below freezing in winter, you must either condition the mechanical bay or use the bypass valve to isolate and drain the softener. Most full-time container homes condition the bay with a small ceiling cassette mini-split — the same unit that heats the living space.
How long does the install take for a DIY container builder?
Budget 6-10 hours including pre-filter installation and drain penetration. The 5600SXT itself goes together in under an hour once the resin is loaded and the valve is threaded. Most of the time is plumbing layout, drain routing, and electrical — the 5600SXT needs a dedicated 120V outlet within 6 feet.

Will the regeneration noise carry through corten steel walls?
Yes, more than you'd expect — steel transmits the brine-draw vibration like a drum. Mount the resin tank on a closed-cell foam pad and isolate the wall mount with rubber bushings. Run regeneration cycles at 2 AM and you won't hear it from the sleeping area. For more, see our container home plumbing rough-in guide.
Bottom Line
A successful fleck 5600sxt shipping container home install comes down to three decisions made before you ever touch a wrench: reserve enough mechanical bay space (30" x 60" minimum), invest in upstream pre-filtration matched to your water source, and route the drain through the floor before you close the wall. Get those three right and the Fleck itself is the easy part — it's the same valve that's been bulletproof in stick-built homes for two decades, just packaged into a much tighter footprint.
Key Takeaways
- Choosing the right fleck 5600sxt shipping container home install means matching capacity and output ports to your actual devices
- Always check actual watt-hours (Wh), not just watts — runtime depends on Wh, not peak output
- Also covers: fleck 5600sxt container home water softener
- Also covers: shipping container home water softener install
- Also covers: fleck 5600sxt steel wall mounting
- Compare price-per-Wh across models to find the best value for your budget